
Greetings!
In my game 2 I faced Adam and his very nicely painted Lizardmen. We played once during CanCon 2012 so it was a chance for a re-match. We had similar armies too, as Adam made a little changes in his list to accommodate Scar Veteran. Otherwise his army was quite the same. Another difference was the scenario. At CanCon we played Battle for the Pass while this time it was Battle Line.
Army Lists and pre-battle thoughts
Adam has an army which for me is a classic type with solid core and phalanx of tough Saurus warriors backed up by a nice section of support units. Unfortunately it still suffers from some comp penalties and Adam got 10/25 score for this list.
Lizardmen - Army List
Slann Mage-Priest, BSB, The Focused Ruminations, The Becalming Cogitations, Plaque of Tepok - Lore of Life
Scar Veteran, Cold One, Light Armor, Shield, Dragon Helm, Dawnstone (I think :))
Skink Priest on the Engine of the Gods, Dispel Scroll - Lore of Heavens
24 Saurus with Spears, Full Command
24 Saurus with Hand Weapons, Full Command
10 Skins with Javelins
10 Skink Skirmishers with Blow Pipes
7 Chameleon Skinks
20 Temple Guard, Full Command
3 Terradon Riders
2 Salamander hunting packs
This army can present a rock hard and solid formation which would be very hard to defeat with frontal attack. In our previous game I lost a combat against single block of Saurus with 2 Swordmaster units attacking this way so they definitely can fight hard.
I also knew Salamanders can be very dangerous to my small units but Dragon Princes would be a very good tool to hunt them down.
I needed to stay away from the Slann to be able to cast my own spells and I needed to spread wide to prevent Chameleons to sneak behind my lines.
Engine is always a challenge but Lions were eager to hunt the big beast down even at a cost of their own lives (Thunderstomp hurts my units a lot and it was not guaranteed I could kill it in one turn).
Shooting can be less efficient, as Saurus units are tough, have good armor and can also be protected by the Engine. But with curse of arrow attraction (if I have it) and focused fire I could still kill a few before the combat starts. And I wanted to target big blocks if support units were not viable targets. Also, some of them were too hard to hit anyway.
Last but not least, Scar Veteran can be a problem. He is very tough and can easily chew through my small units on his own. Good thing is he cannot be everywhere and it might take him 2 turns to do so.
My army list for reference:
Outcasts - Army List
Archmage, Staff of Solidity - High MagicBSB, Heavy Armor, Shield, Great Weapon, Dragon Helm, Reaver Bow
10 Archers, Musician
10 Archers, Musician
15 LSG, Shields, Full Command
15 LSG, Shields, Full Command
10 Swordmasters, Bladelord, Amulet of Light
9 Swordmasters, Musician, Bladelord, Talisman of Loec
10 White Lions, Musician, Standard, Banner of Eternal Flame
10 White Lions, Musician, Standard, Gleaming Pennant
5 Dragon Princes
5 Dragon Princes
5 Ellyrian Reavers, Spears
Great Eagle
Great Eagle
Eagle Claw Bolt Thrower
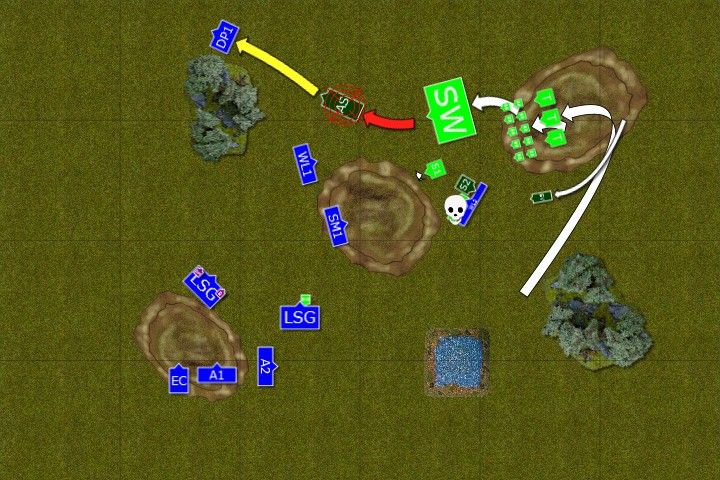
Deployment
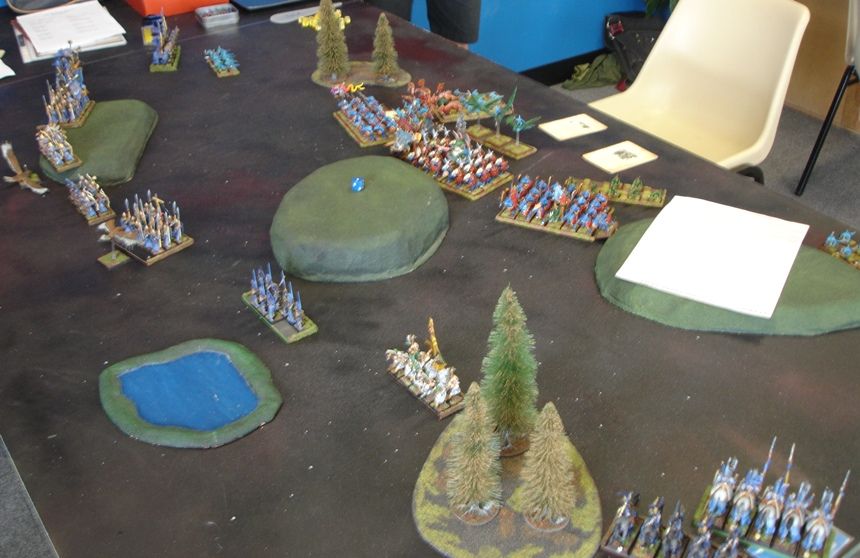
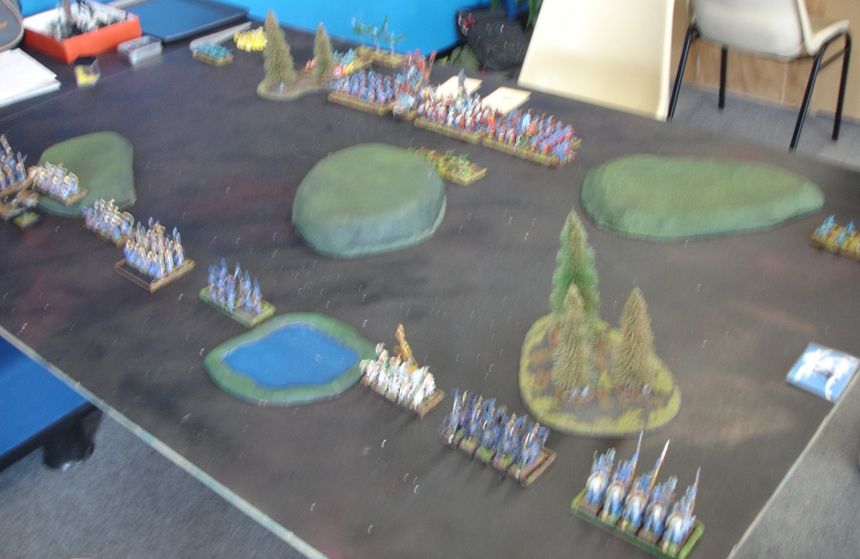 |
| Deployment - Blurry picture 1 |
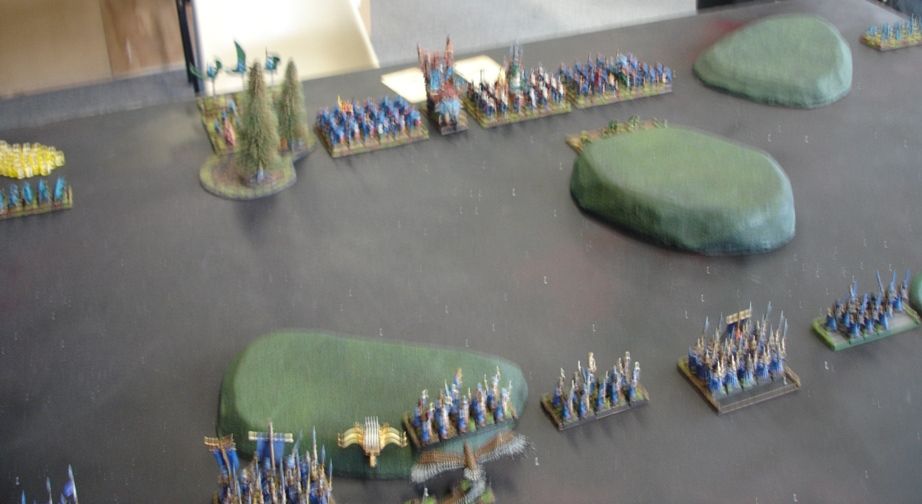 |
| Deployment - Blurry picture 2 |
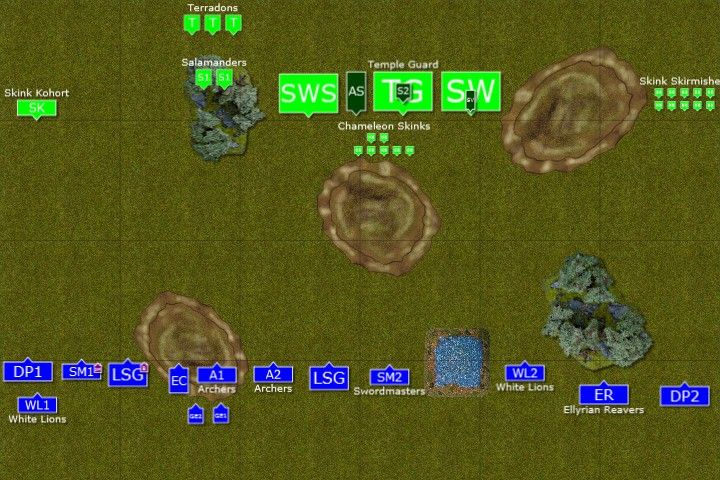 |
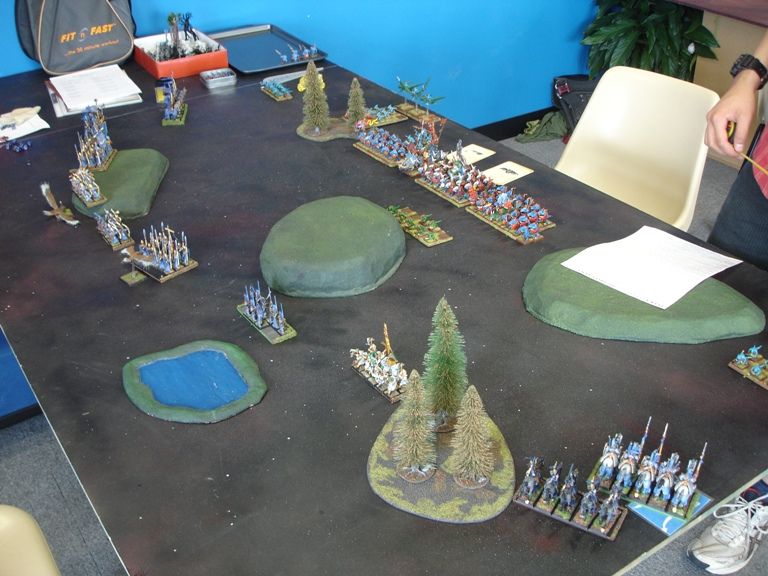
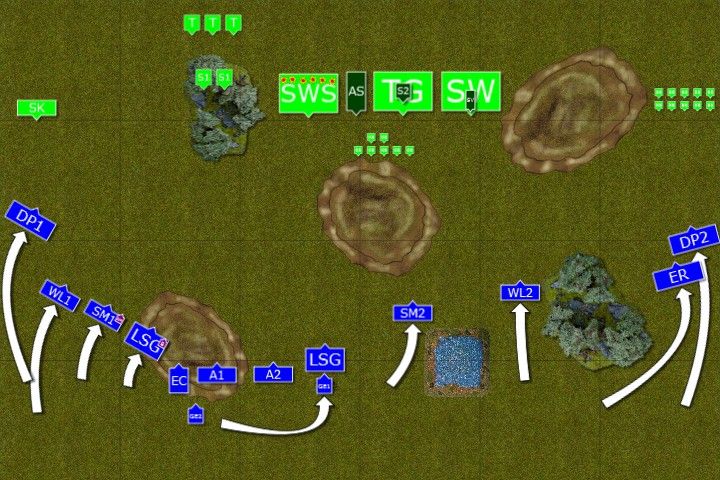
| Deployment after Vanguard - Terradons moved back while Reavers didn't move at all. |
Archmage started the game with Swordmasters to stay away from Slann but be able to cast some spells. BSB was with Sea Guard. Scar Veteran was with Saurus Warriors and Slann with Temple Guard.
The wizards had following spells:
Slann Mage-Priest - Earth Blood, Flesh to Stone, Throne of Vines, Shield of Thorns, The Dwellers Below
Skink Priest - Iceshard Blizzard
Archmage - Drain Magic, Curse of Arrow Attraction, Fury of Khaine, Flames of the Phoenix, Vaul's Unmaking
Archmage - Drain Magic, Curse of Arrow Attraction, Fury of Khaine, Flames of the Phoenix, Vaul's Unmaking
Despite deploying last High Elves still got first turn.
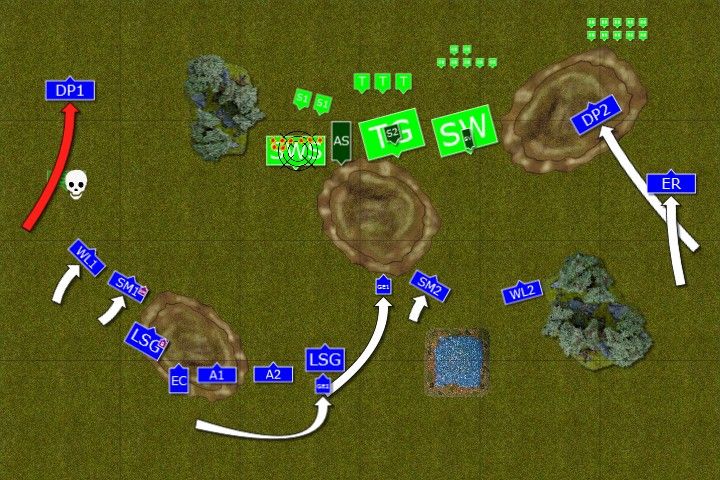
Outcasts - Turn 1
 |
| High Elves begin the envelopment |
 |
| High Elves advance |
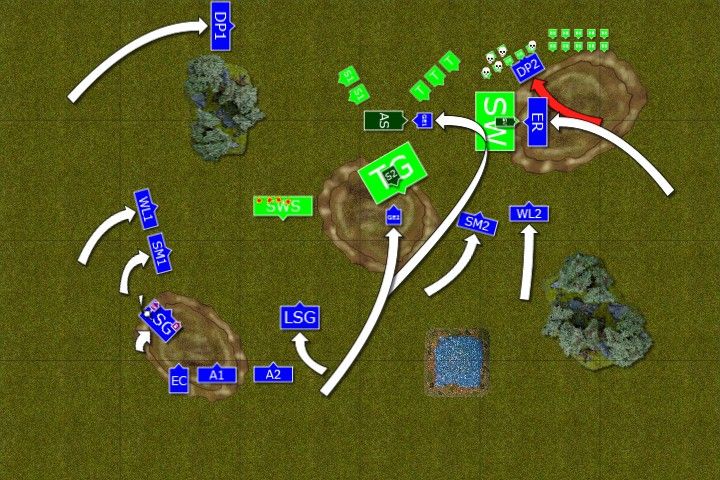
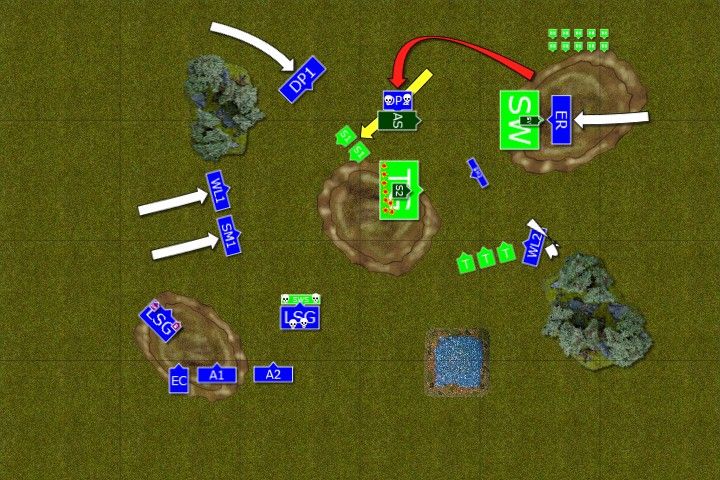
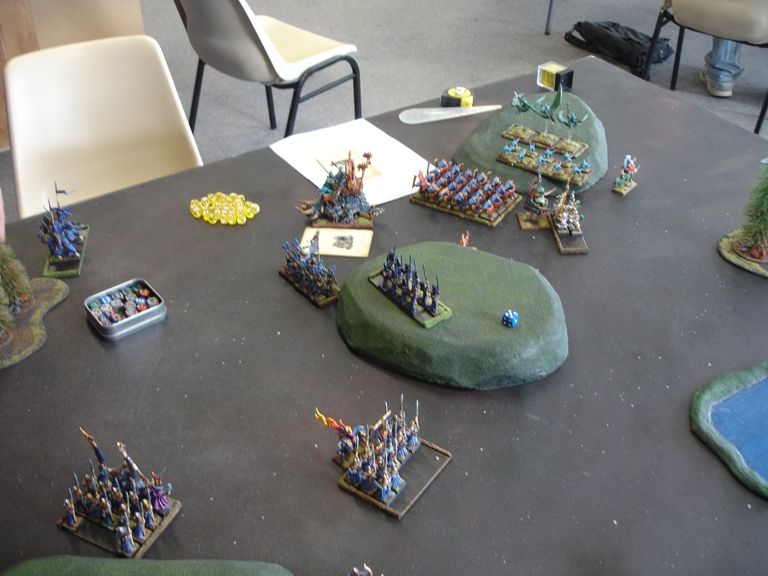
High Elves seized the initiative and advanced on both flanks with cavalry leading the way. Shooters moved into range where required and focused their fire on the Saurus Warriors killing entire rank of the huge Lizards. They, however, kept moving with cold resolve.
Lizardmen - Turn 1
 |
| Lizardmen phalanx |
 |
| Lizardmen consolidate their formation |
Lizardmen army groups together and moves as one, making their formation even tighter with Saurus forming a wall of scaly skin and support troops forming second line. A small cohort of skink warriors moved to slow down advancing enemy.
Slann attempts to cast magic was limited with only shield of thorns engulfing one of the Saurus blocs on the Western flank. Skink Priest was ordered to form a protective aura with the Engine of the Gods.
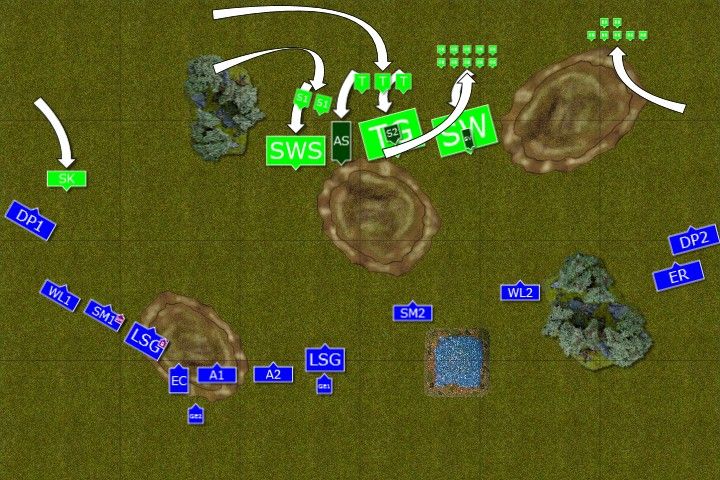
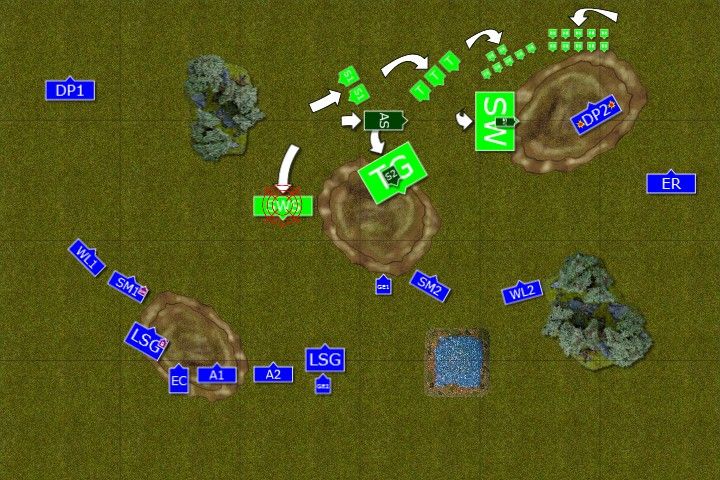
Outcasts - Turn 2
 |
| East Front and ... |
 |
| ... Western flank |
 |
| First charge |
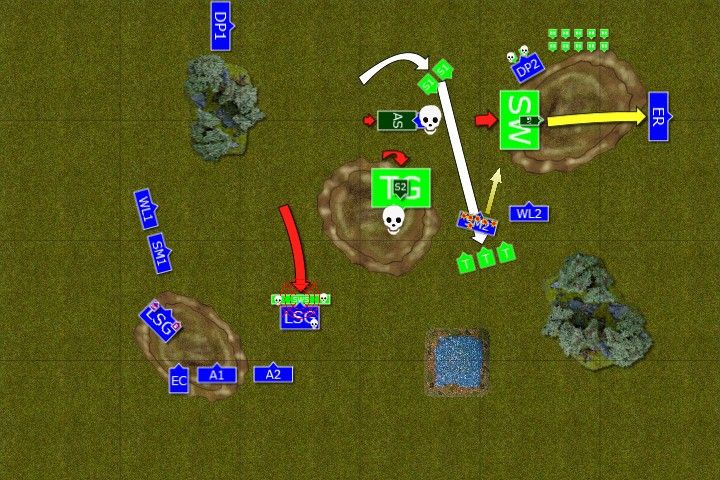
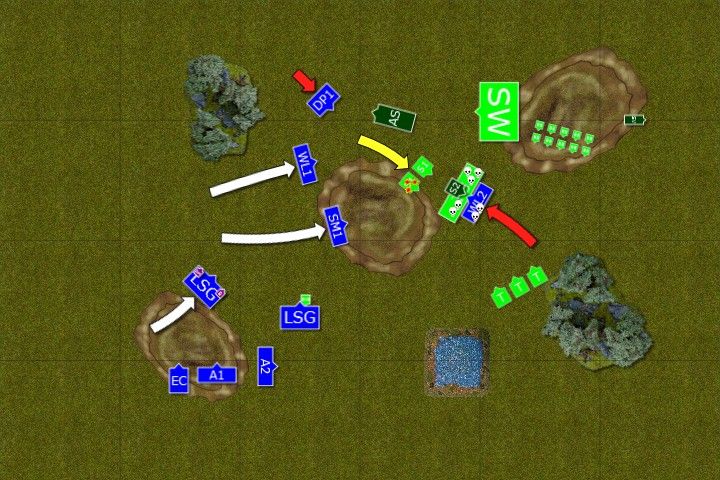
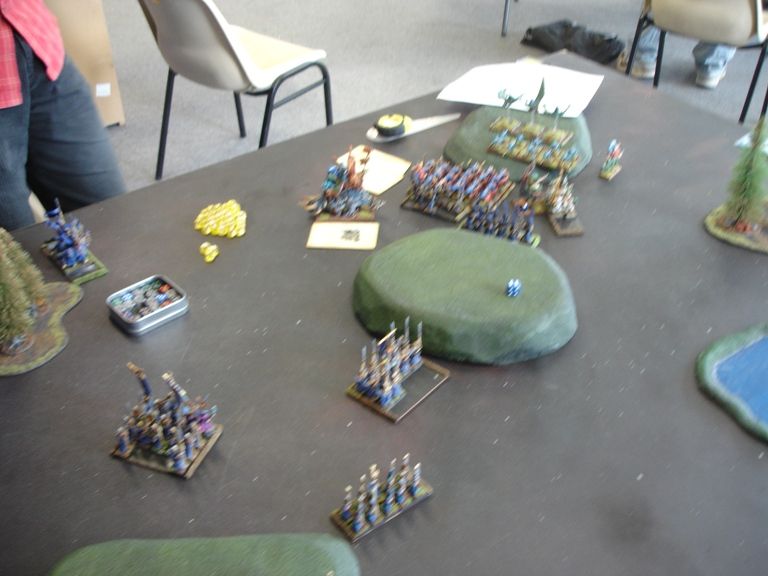
Dragon Princes on the Western flank charged small regiment blocking their path and scattered small lizards. Their companions on the East used the opportunity and moved swiftly on the hill out of sight of the Saurus Warriors. Elite infantry advanced too but regiments on the East slowed down to better co-ordinate their attacks at later stage.
Again all the shooters aimed at the Saurus Warriors and whatever protective aura they were surrounded by was neglected by the curse of arrow attraction cast at them by the Archmage. The arrows and bolts flew towards hulking warriors as metal to magnet and 8 more fell in the storm of arrows. It was hard to believe how quickly that units was melting down.
Lizardmen - Turn 2
 |
| Depleted Saurus Warriors unit advances nonetheless |
 |
| Lizardmen switch to the Eastern theater of the battle |
Saurus Warriors who suffered from the elven shooting were hardened by the spell and their flesh turned to stone. The rest of the army moved towards the elven regiments on the East and skink shooters managed to find some weak spots in the armor of elven knights. Two proud warriors fell to the ground.
Outcasts - Turn 3
 |
| Attack on the East |
 |
| More decisive moves by elven forces |
Elven troops on the West moved full speed towards retreating enemy. The shooters aimed at toughened warriors and still managed to kill 4 of the brutes. One of the Sea Guard unit moved forward to intercept any survivors while still shooting.
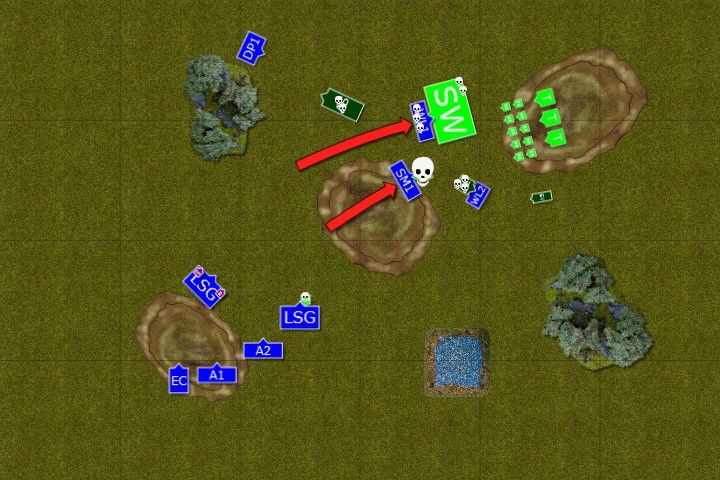
On the East Dragon Princes charged Chameleon Skinks but two survivors were filled with insane courage and held. That interfered with elven plans as the cavalry was supposed to be ready for a coordinated attacks from both flanks together with quickly advancing Swordmasters and Lions. Reavers were blocking Saurus Warriors to low them down for that very purpose.
Lizardmen - Turn 3
 |
| Saurus charge! |
 |
| Lizardmen army fights back |
Survivors from the Saurus unit charge Sea Guard but are unable to win the combat and keep fighting. Great Eagles are hunted down too.
Reavers feign flight and pursuing warriors do not catch them just yet. Terradons spot good target, fly over Swordmasters and drop their deadly cargo. Only 4 elves survive that bombardment and withdraw.
Salamanders go wild and eat a couple of skinks herding them to battle. Dragon Princes finish remaining skins but it seems that Lizardmen broke the cohesion of the battle line for elven army on the Eastern flank.
Outcasts - Turn 4
 |
| Western forces arrive |
 |
| Envelopment continues |
Dragon Princes who just defeated Chameleon skinks charge salamanders but as they flee the knights level their lances and charge a new, much more powerful target. Their aim is to kill skink priest but slim lizard is saved by his gods and rampaging Stegadon kills two elves. Last survivor tries to buy some time for his companions.
The fight between Sea Guard and few Saurus continues, heavily outnumbered Lizards not wanting to give ground. Reavers once more harass Warriors on the East.
Swordmasters and White Lions ready themselves for the incoming combat while elven shooters aim at new target, Temple Guard. Hail of arrows and bolts once more proves deadly when 8 elite bodyguards of the mage-priest fell down. ([i]Edit: I am not sure if I got curse of arrow attraction here or was it with combination of shooting and fury of khaine[/i]).
Lizardmen - Turn 4
 |
| Combat and movement see Lizardmen repositioned towards Eastern flank |
 |
| Eastern part of the Elven army collapses but Western troops keep up the pressure |
Temple Guard charges Swordmasters who prepare for last stand to regain their honor and kill 4 saurus before they are put down to en elf.
Scar Veteran charges on his own and this time Ellyrians are not fast enough to avoid the enemy. The warriors turn back to the West while skinks move to the hill and even manage to kill two Lions.
Skink priest uses destructive power of the Engine and cracking energy kills one knight in combat with the stegadon as well as two more from advancing unit.
On the West only 2 Saurus remain fighting elven Sea Guard but the combat is still not resolved.
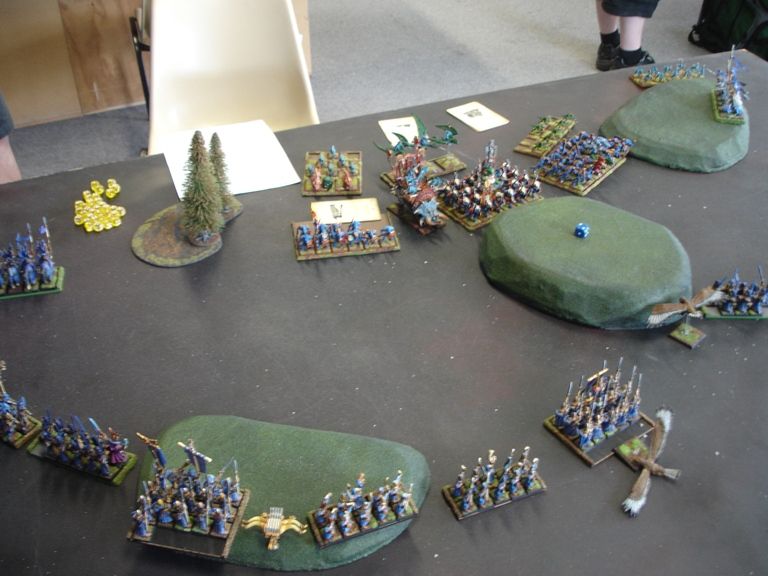
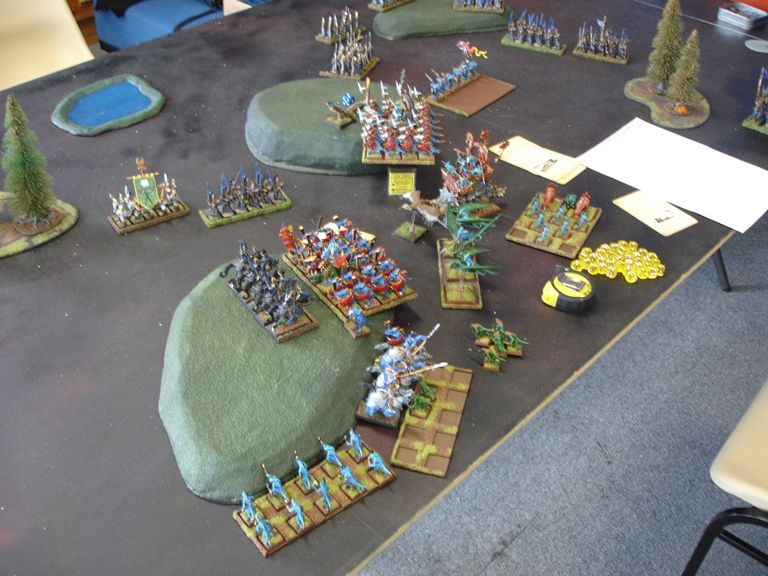
Outcasts - Turn 5
 |
| Wrath of the Lions! |
 |
| Slann Mage-Priest is in trouble |
Dragon Princes charged Salamanders but were not swift enough to catch them when they fled. Swordmasters and White Lions advanced for support anyway. Magic sees one of the Salamanders dead anyway.
White Lions on the East charge Temple Guard and in a savage furry of attacks kill 5 of them losing only 2 of their own. Slann bodyguards are almost done.
Elven shooters with the lack of better target aimed at Stegadon and this time skink priest was not lucky to avoid incoming arrows and despite his armor he was shot dead.
Lizardmen - Turn 5
 |
| The battle enters final stage |
 |
| White Lions continue hacking down temple guard |
Enraged Stegadon charges Dragon Princes but elven knights withdraw. Scar Veteren sped up for the rescue as last temple guard was killed but Slann held. He even rose on the throne of vines and made Stegadon almost unkillable with extra tough hide. Prolonged combat between Saurus and Sea Guard continued.
Outcasts - Turn 6
 |
| Sea Guard finally defeats last Saurus Warriors |
 |
| Last elven attacks |
White Lions charge Saurus Warriors and Swordmasters follow but due to the fact they had to cut down Salamander on their way the attack was not coordinated and Lions went in alone. They now had to keep whole tough regiment on their own.
Remaining Lions from the second unit inflicted 4 wounds on the Slann and mage-priest barely held, clutching to life with all his remaining strength.
Lizardmen - Turn 6
Edit: Apologies for no photo but we were close to time limit and wanted to finish without penalties. Every second counted! :)
Slann Mage-Priest cast throne of vines and healed itself a little but all other attempts were dispelled. (Edit: Throne went irresistibly) Scar Veteran finally arrived but Lions had last chance to kill the enemy general. Unfortunately they could not inflict that last wound but held even after Scar Veteran started to chop them mercilessly.
Their companions also held the line despite casualties and at this moment both armies disengaged. The forces were bloodied but it seemed that Elves gained the advantage.
After-battle thoughts
When we calculated points it turned out High Elves claimed 12-8 victory. I was very happy with the result as I managed to kill 2 big regiments and was very close to get the main prize, Slann Mage-Priest. Only timely come back of Scar Veteran saved him though so congratulations to Adam for that as it was very climatic end of the great battle. It was a great pleasure to play against you and your beautifully painted army!
As always some remarks and comments:
1. Combination of small arms shooting and curse of arrow attraction can be quite efficient. I managed to decrease the number of warriors in 2 powerful units significantly enough to finish them in combat. Eagle Claw and Reaver Bow did make a difference here too.
2. I think I might have deployed my Western forces too far away but then I didn't want to change position for the shooters. Maybe one unit of elites, Lions for example, would have been better closer to the center. I was happy with Archmage positioning though as he was never close to mage priest but could target his unit.
3. I wonder if I did well advancing towards the Eastern units so early. Moving cavalry there was good but maybe I should have turned towards TG earlier? I didn't plan to engage them at all but now I see I can hurt them while fighting against that powerful block of Saurus with Scar Veteran could be too tough even for my elites as the enemy would remain steadfast for longer.
4. Adam changed his way of spell casting at some stage and throwing more dice for throne and getting IF was much better option than just 2-3 dice roll I often dispelled making his further attempts more risky. Also, if he had his Scar Veteran as an individual unit it would have given him more options.
Thanks for reading!
No comments:
Post a Comment