
Game 2 - Battle Line - Hamish - High Elves
Game 2 saw my forces matched against another HE army. Hamish told me it was his first tournament under 8th rules but I am sure it does not mean he was totally new to the hobby as he definitely knew what is he doing. He brought more traditional army to the field with a few popular choices that affected his composition score significantly.
High Elves - Army List
Loremaster, Sword of Might, Shield of the Merwyrm, Golden Crown of Atrazar, Book of Hoeth - 330
BSB, barded steed,Dragon armour , Enchanted Shield, Star Lance, Potion of Foolhardiness - 160
17 Archers, Musician - 180
10 Silver Helms, Full Command - 260
5 Ellyrian Reavers - 80
5 Ellyrian Reavers - 80
18 Phoenix Guard, Razor Banner - 325
24 Swordmasters, Bladelord, Standard of Discipline - 347
5 Dragon Princes - 145
Frostheart Phoenix - 240
8 Sisters of Avelorn - 112
Bolt Thrower - 70
Bolt Thrower - 70
As usual, I will try to have a closer look at each choice in the army list of my opponent:Game 2 saw my forces matched against another HE army. Hamish told me it was his first tournament under 8th rules but I am sure it does not mean he was totally new to the hobby as he definitely knew what is he doing. He brought more traditional army to the field with a few popular choices that affected his composition score significantly.
High Elves - Army List
Loremaster, Sword of Might, Shield of the Merwyrm, Golden Crown of Atrazar, Book of Hoeth - 330
BSB, barded steed,Dragon armour , Enchanted Shield, Star Lance, Potion of Foolhardiness - 160
17 Archers, Musician - 180
10 Silver Helms, Full Command - 260
5 Ellyrian Reavers - 80
5 Ellyrian Reavers - 80
18 Phoenix Guard, Razor Banner - 325
24 Swordmasters, Bladelord, Standard of Discipline - 347
5 Dragon Princes - 145
Frostheart Phoenix - 240
8 Sisters of Avelorn - 112
Bolt Thrower - 70
Bolt Thrower - 70
Loremaster - I don't think I had a chance to play against the Loremaster myself so I was very intrigued by the duel of both characters. Hamish took Book of Hoeth that added to the reliability of spell casting while I was putting my trust into Earthing Rod. His Loremaster was also geared for combat while mine had more protective equipment. As there was also Standard of Discipline present in the army I was almost sure he will join his fellow warriors of Hoeth and as such he would be well protected. However, in well orchestrated combat his bodyguards might not be fast enough to strike before the attackers so I looked for potential openings.
BSB - mounted noble and only 2 heavy cavalry units. One of them 10 strong the other only 5 and again it was easy to predict where is he going to be. That does not mean it would be easy to get him though. He had a respectable 1+ armor save, 2++ against flaming attacks and similar offensive equipment to my eagle rider. He would made his unit more dangerous and with 2 other blocks of elite infantry he would pose a great threat if the efforts of the units could be coordinated. He didn't have much of a ward save though and as such would be more vulnerable to death magic as well as high strength attacks in large volumes.
17 Achers - good unit that can defend itself against some of my small elite regiments and can provide much needed ranged support. I can defeat them but would need heavy cavalry to perform that duty or use my shooting to reduce their fire power. Not to be ignored, as I know very well that if used correctly then can add to combat too.
Reavers - one of my favorite units, I would need to kill them fast. I had an advantage with slightly bigger units but also because mine were equipped with bows. As such I could actually go for one on one duels and I was looking forward to such opportunities. That would free my other shooters to aim at other targets while my fast cavalry would use their advantage to eliminate their counterparts.
Phoenix Guard - a very tough nut to crack even without the aid of characters. With ASF they would butcher my Swordmasters or Lions so I could not allow them to have that opportunity and attack piecemeal. If caught from the flanks or rear and prevented from reforming their ability to fight back would be significantly reduced and it is possible to grind them down. I just need to make sure no enemy units can help them. This unit is also worthy quite a few points so it would be good to take it down.
Swordmasters - personal favorite they were formed into a single block. The advantage is they can sustain their combat capabilities for longer but at the same time they are less flexible. Cavalry and Archers would be great against them due to ASF. But my own Swordmasters to the flank can tip the scales in my favor too.
Dragon princes - small but very useful unit, more as a support for this particular army. However, that made my job more difficult as the more support the enemy has the more time I need to spend on eliminating it. And even if I succeed I might sustain casualties in the process or be simply too late to get much needed combined charges. I planned to shoot at them with bolt throwers if possible. Otherwise, eagle rider or counter charge with my own heavy cavalry could help here too.
Frostheart - one tough monster to deal with and a flier that is almost impossible to contain. I had some high strength attacks, bolt throwers could claim it too. Nevertheless, it was one of the biggest problem to deal with and I wanted to either slow it down with my own fast units (I thought my both nobles had a good chance of wounding it and possibly breaking on the charge). Other than that the main thing would be to prevent it from aiding other regiments in combat even if against my small units they might not need that much help if attacking one-on-one.
Bolt Throwers - no need to introduce these very reliable war machines. They are also a priority to destroy as the damage they can inflict can be crippling. Fortunately, my own shooting, magic missiles and fast units are all very good at hunting these war machines.
Sisters of Avelorn - I really like these ladies for their magical shots and very good ballistic skill despite their short range. Their presence means our shooting potential was more or less equal. I wanted to use my Dragon princes to hunt them down though as their flaming attacks are a liability against this unit.
In general, Hamish had a good, combined arms army, that was not easy to fight against. I decided I would go after reavers, bolt throwers, sisters and dragon princes first. That would leave 3 infantry blocks, one silver helms hammer and frosty to deal with. I was fully aware that requires speed to pull out as if I were slowed down I would not have enough redirectors to divide the enemy and to get the charges that would overwhelm the enemy quickly.
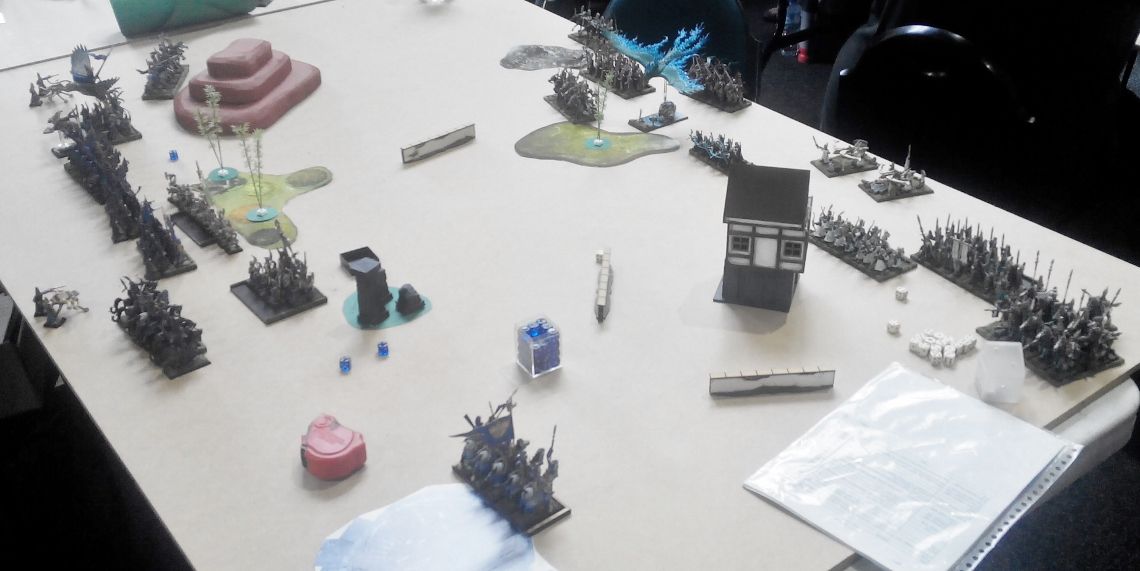
Hamish had clear advantage in close combat provided he kept the battle line intact and force individual fights. I had a few more units and the army seemed to be more flexible in movement phase. I knew it would be a very interesting match and I hope you will enjoy the report. In the meantime, the deployment!
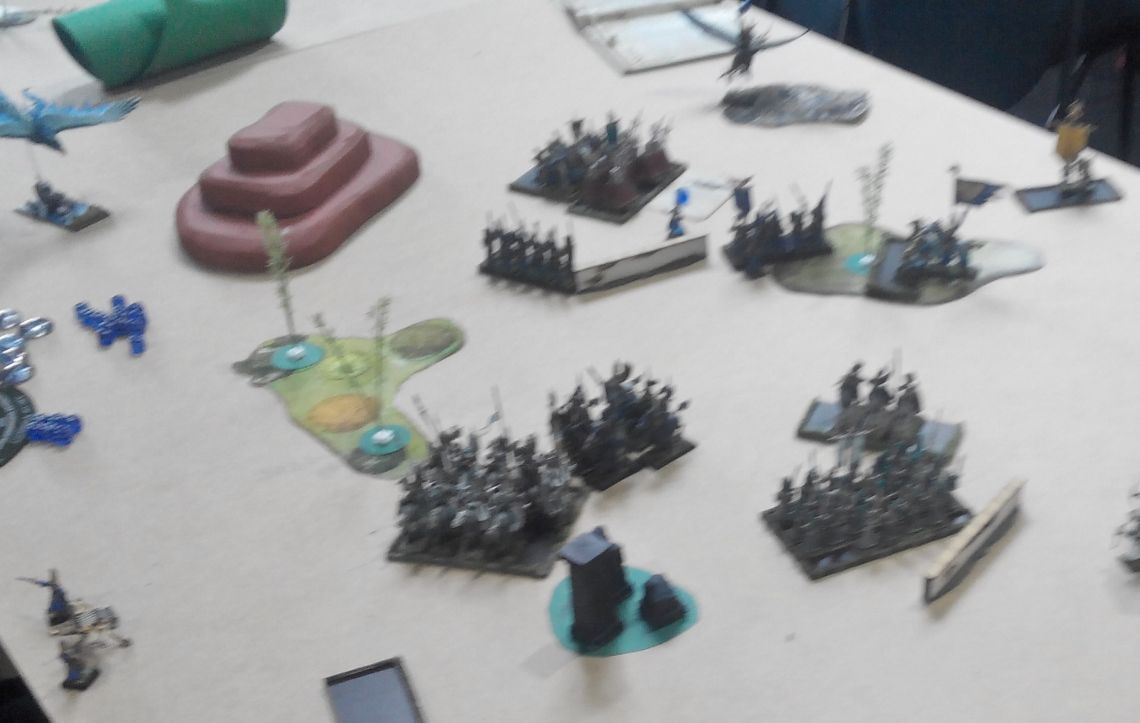
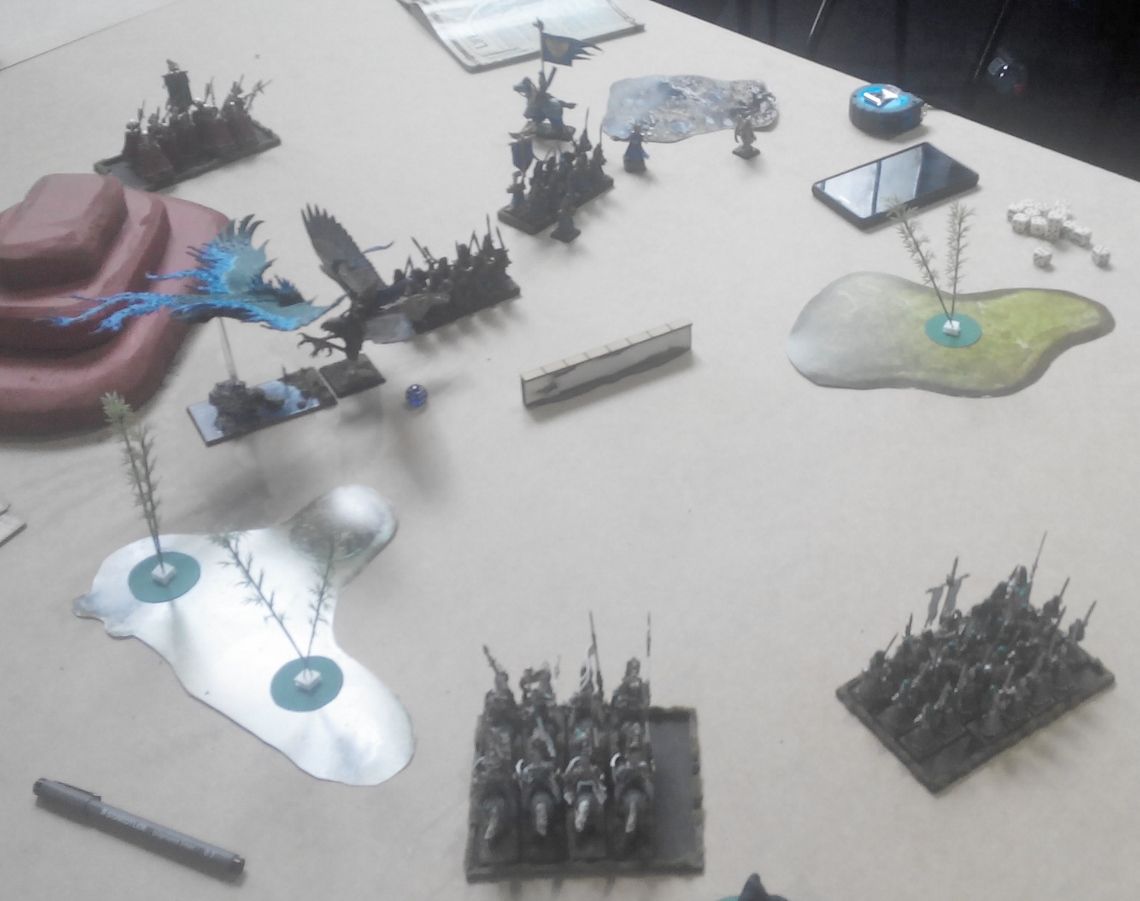
Deployment
 |
| Yet another chapter in the history of civil war |
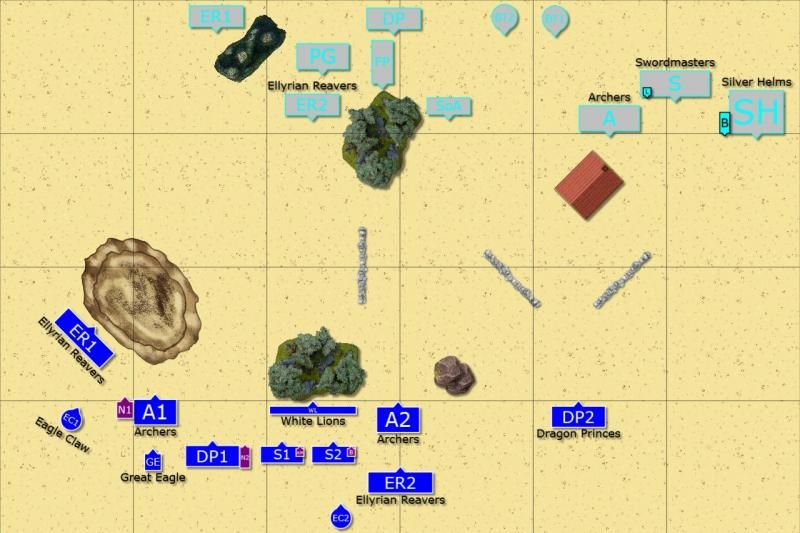 |
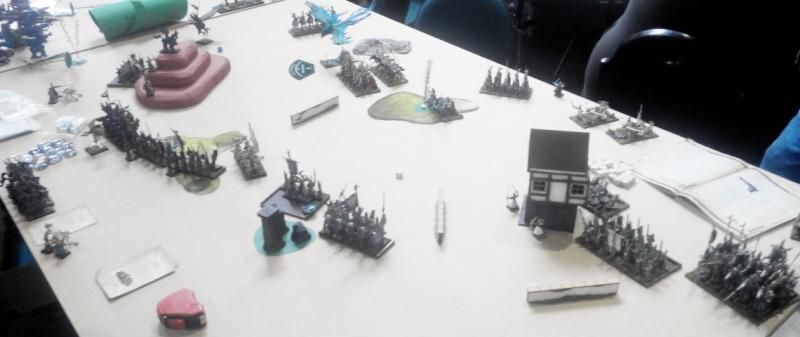
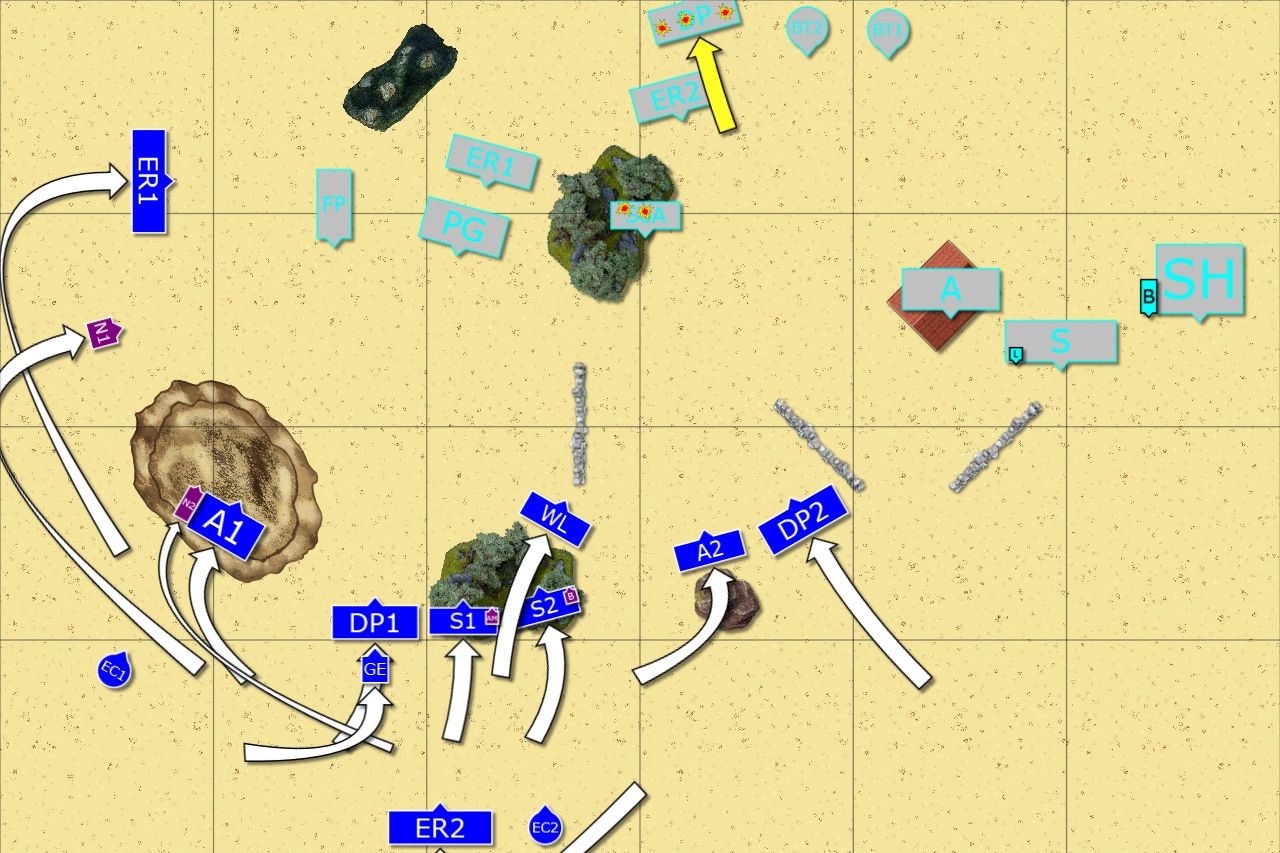
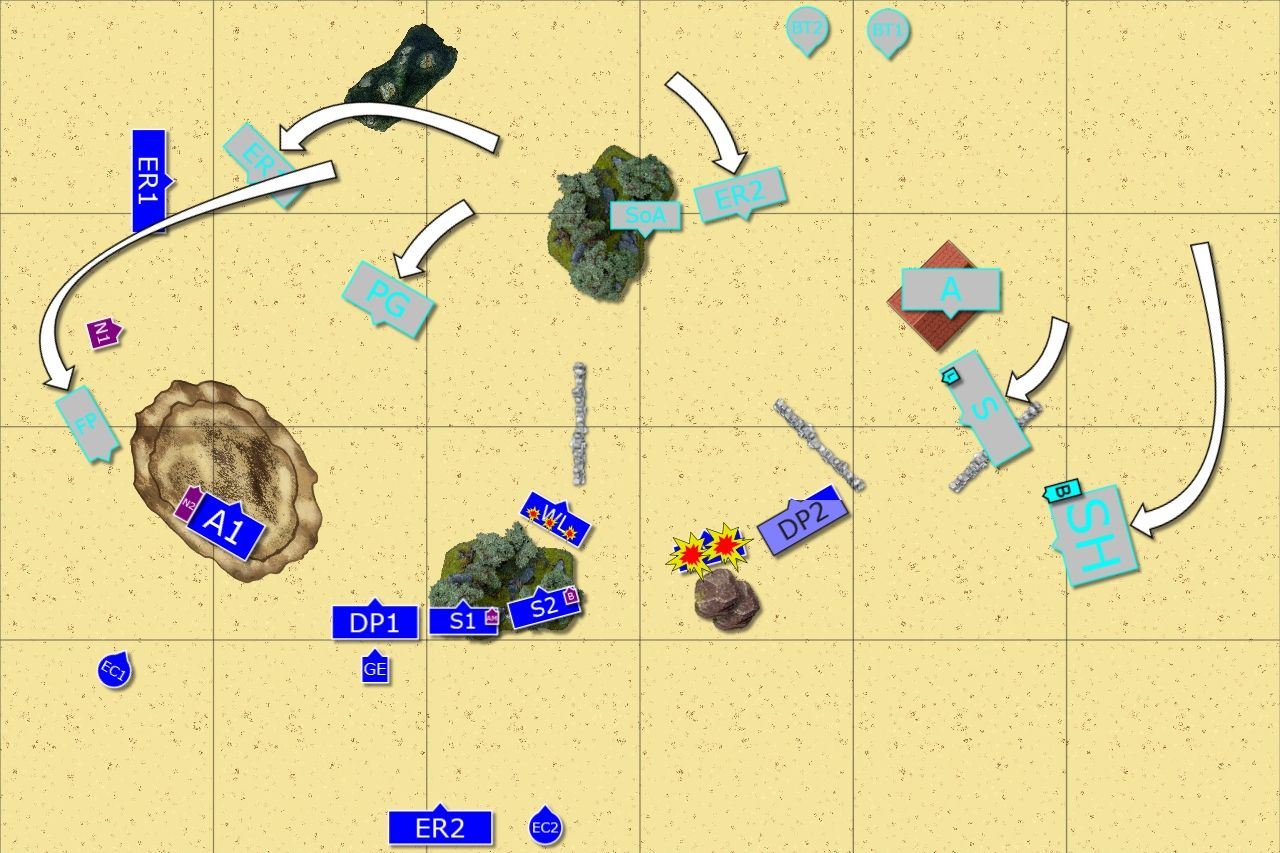
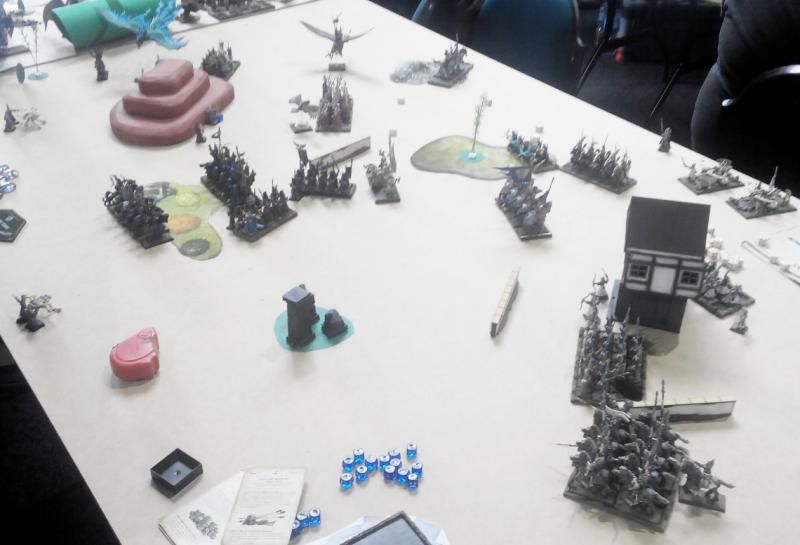
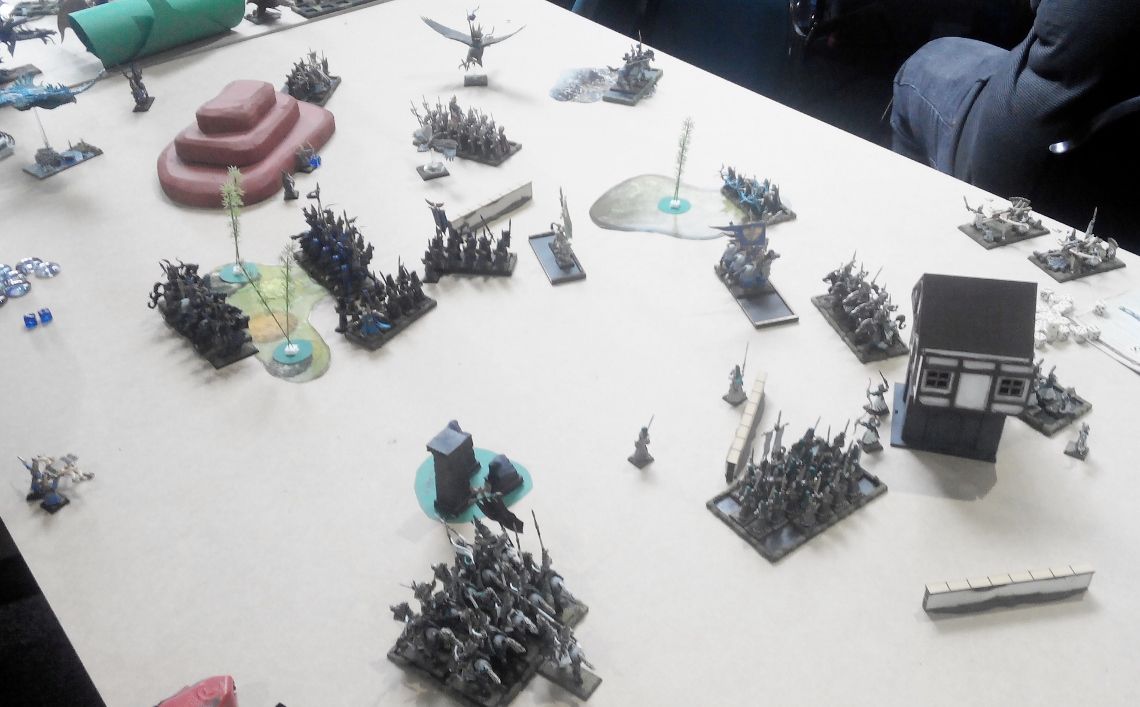
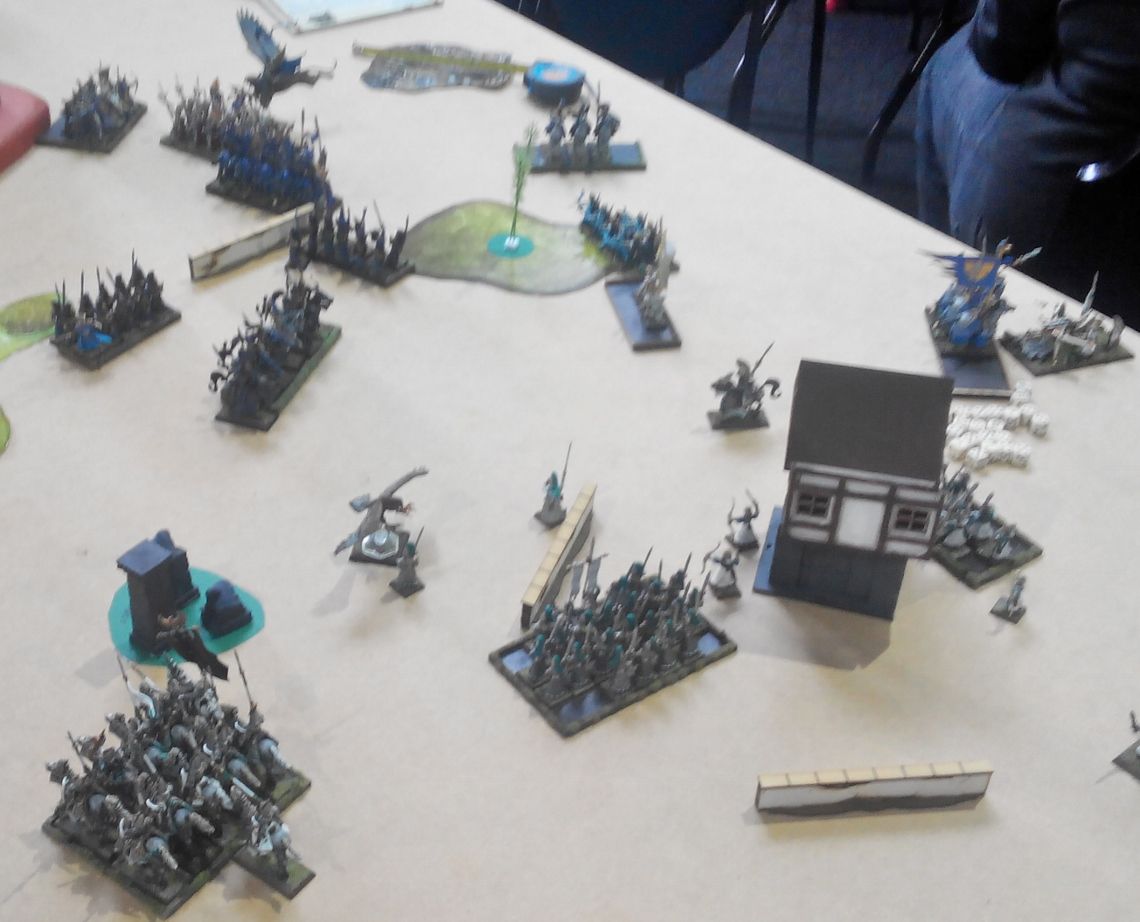
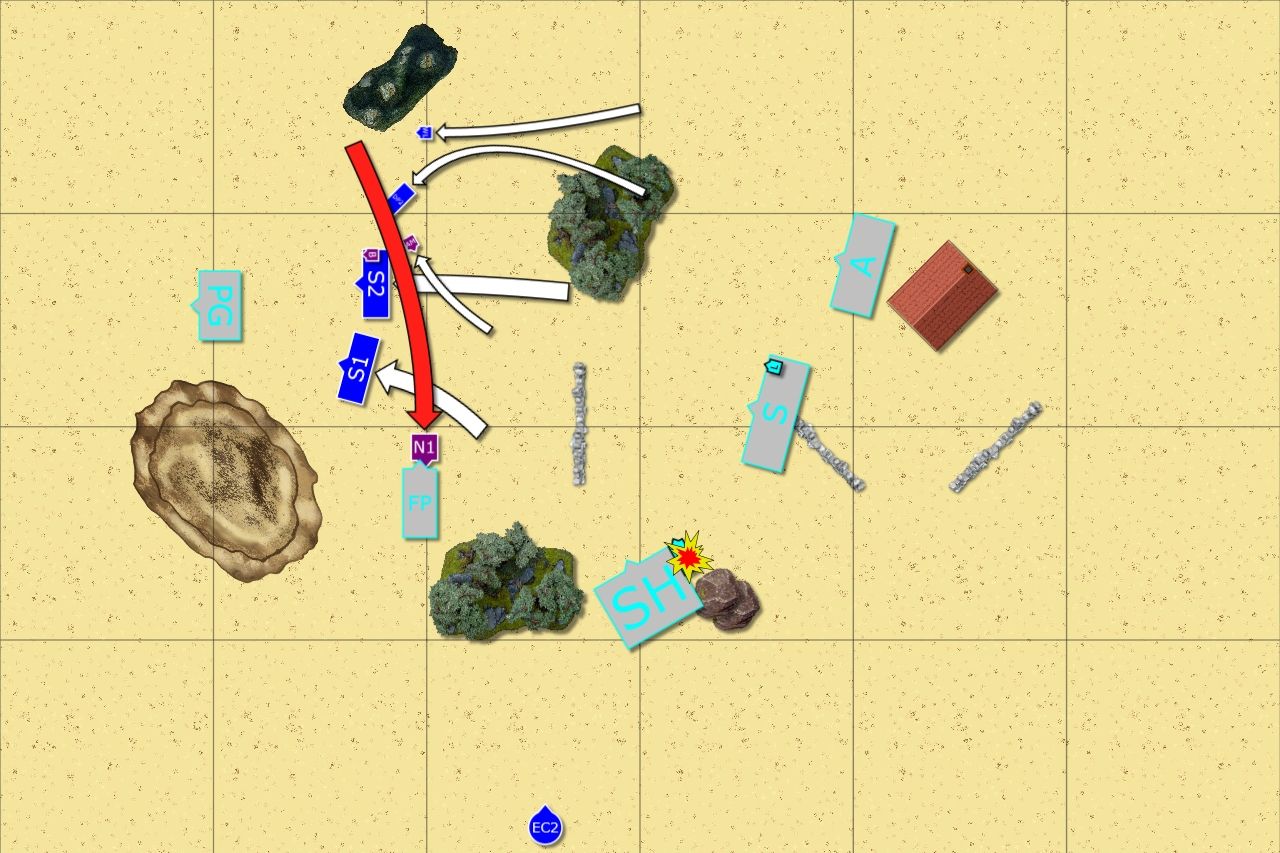
| Deployment of the armies after vanguard |
It looked like we both chose refused flank deployment and the question was who can get enemy's firebase first and who can delay stronger wings long enough for the reinforcements to arrive.
Hamish had +1 to roll off and it was not a surprise that he won and got first turn.
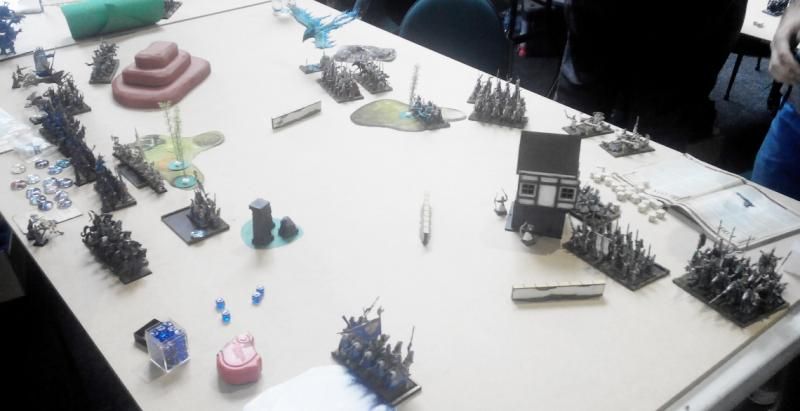
High Elves - Turn 1
 |
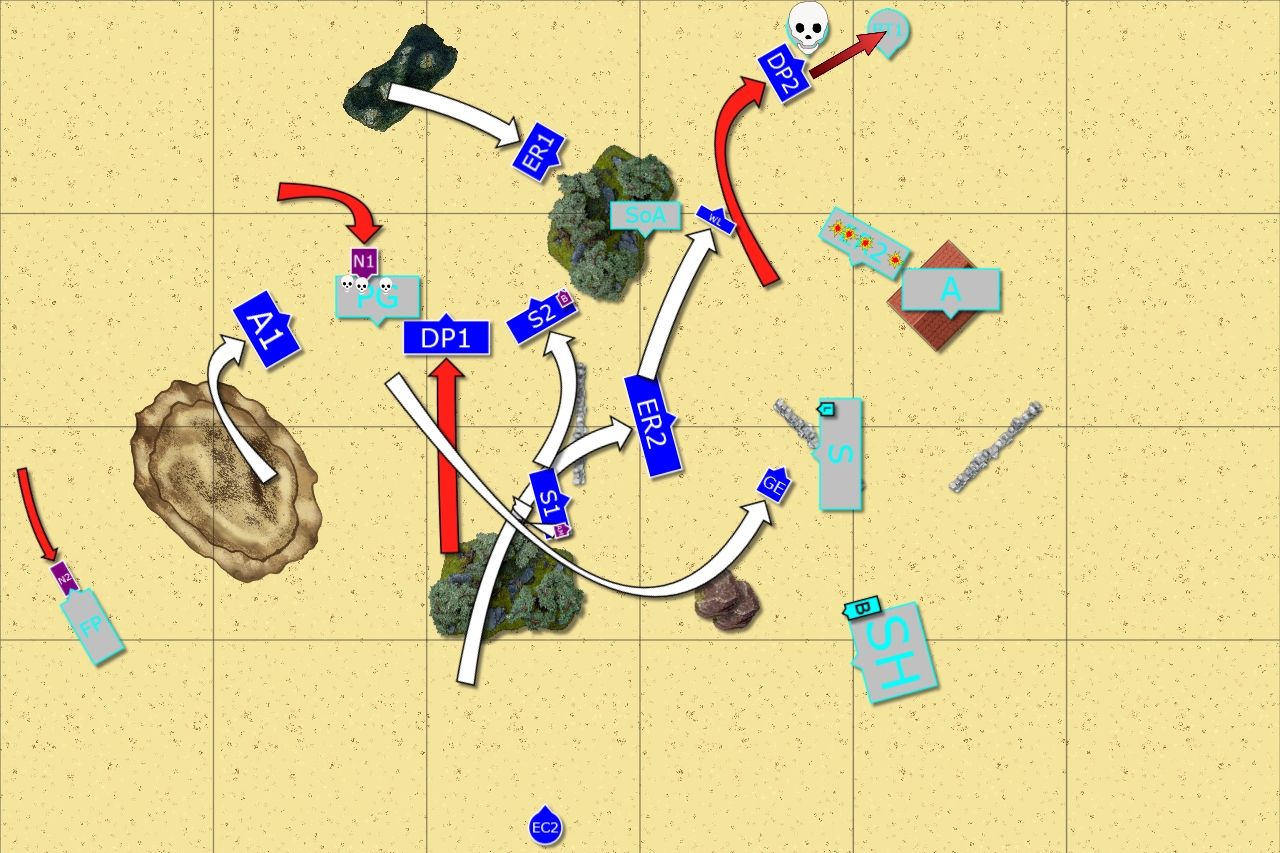
| Some re-arrangements in the battle line |
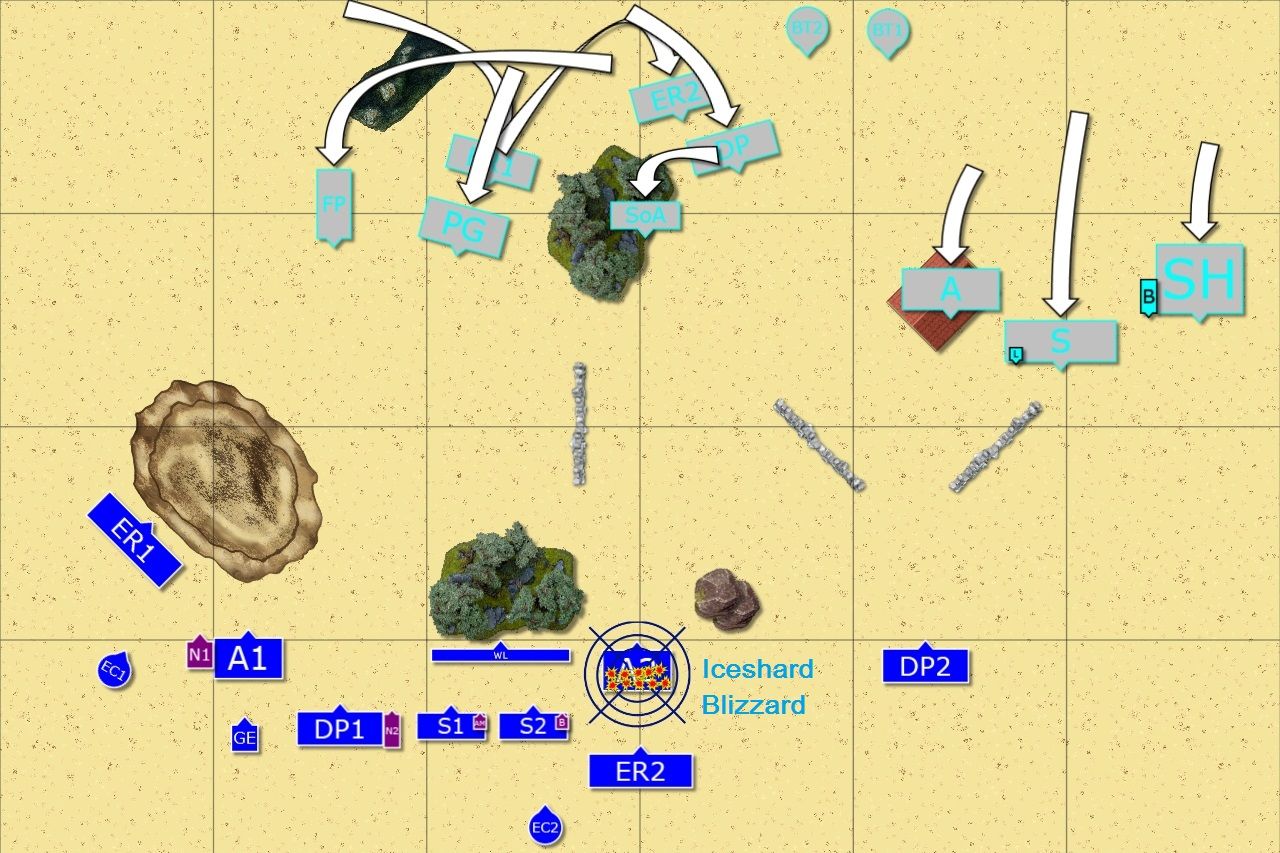 |
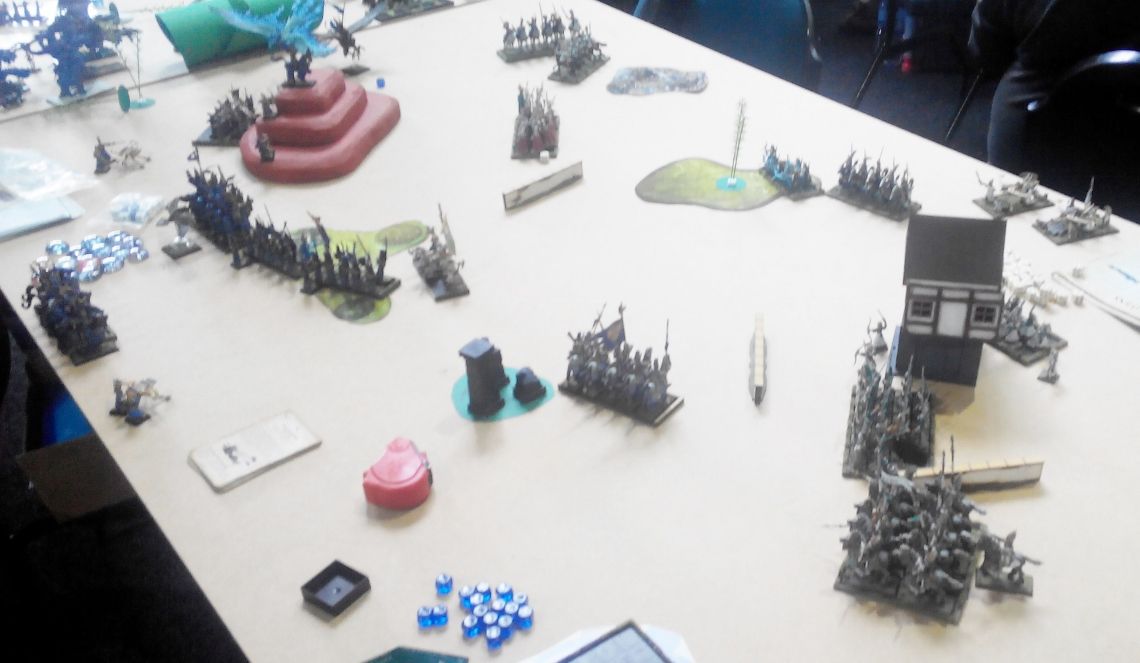
| High Elves advance |
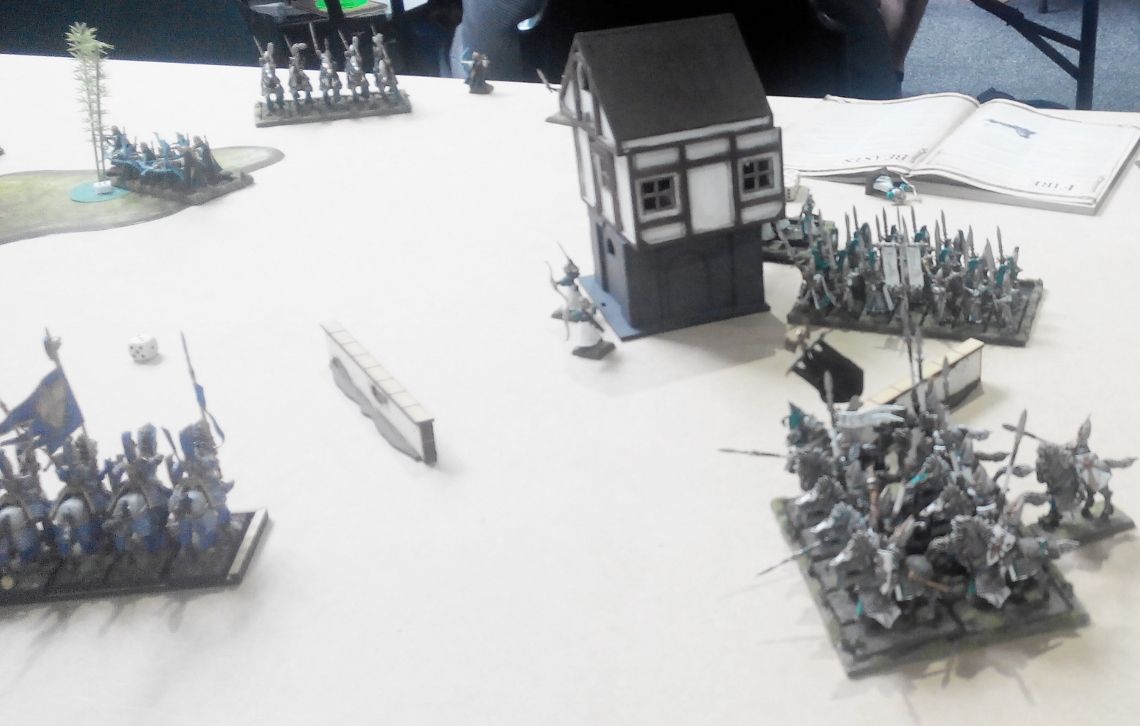
Silver Helms and Swordmasters moved forward against a solitary unit enemy heavy cavalry. Archers jumped into the building and begun shooting immediately. Together with the bolt throwers they all aimed at exposed enemy archers and reduced their numbers significantly.
In the center Dragon Princes and Reavers moved in to intercept any foe trying to attack vulnerable bolt throwers while Phoenix Guard spearheaded the attack on the other flank.
Outcasts - Turn 1
 |
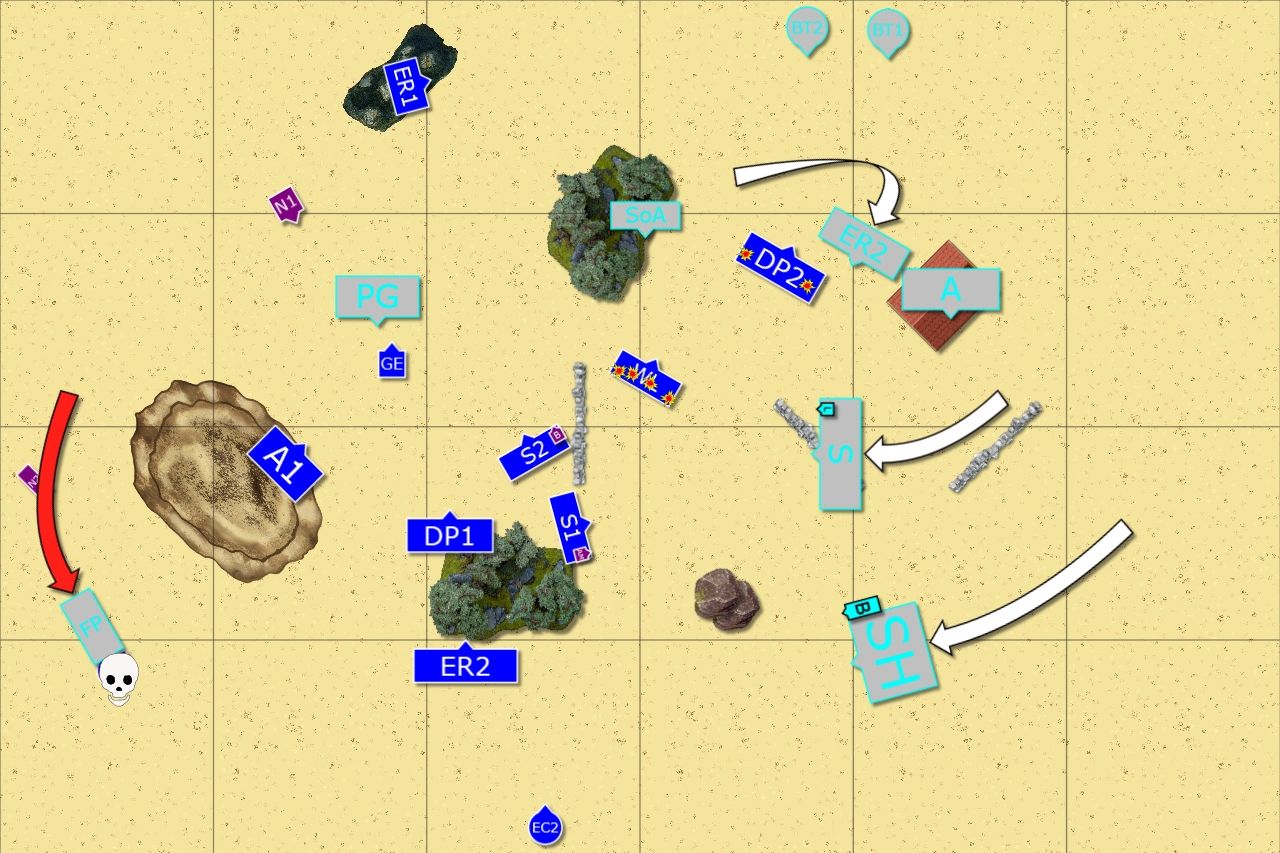
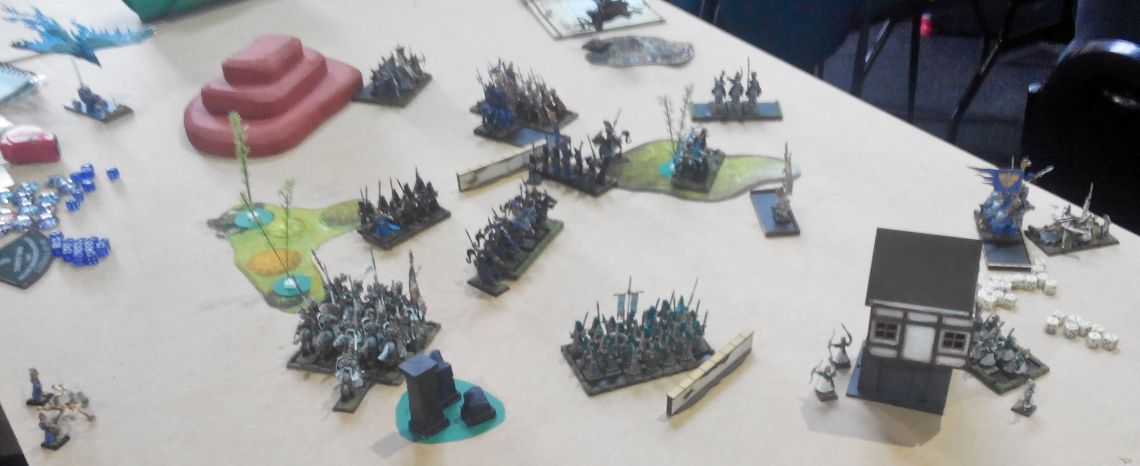
| Closing in! |
 |
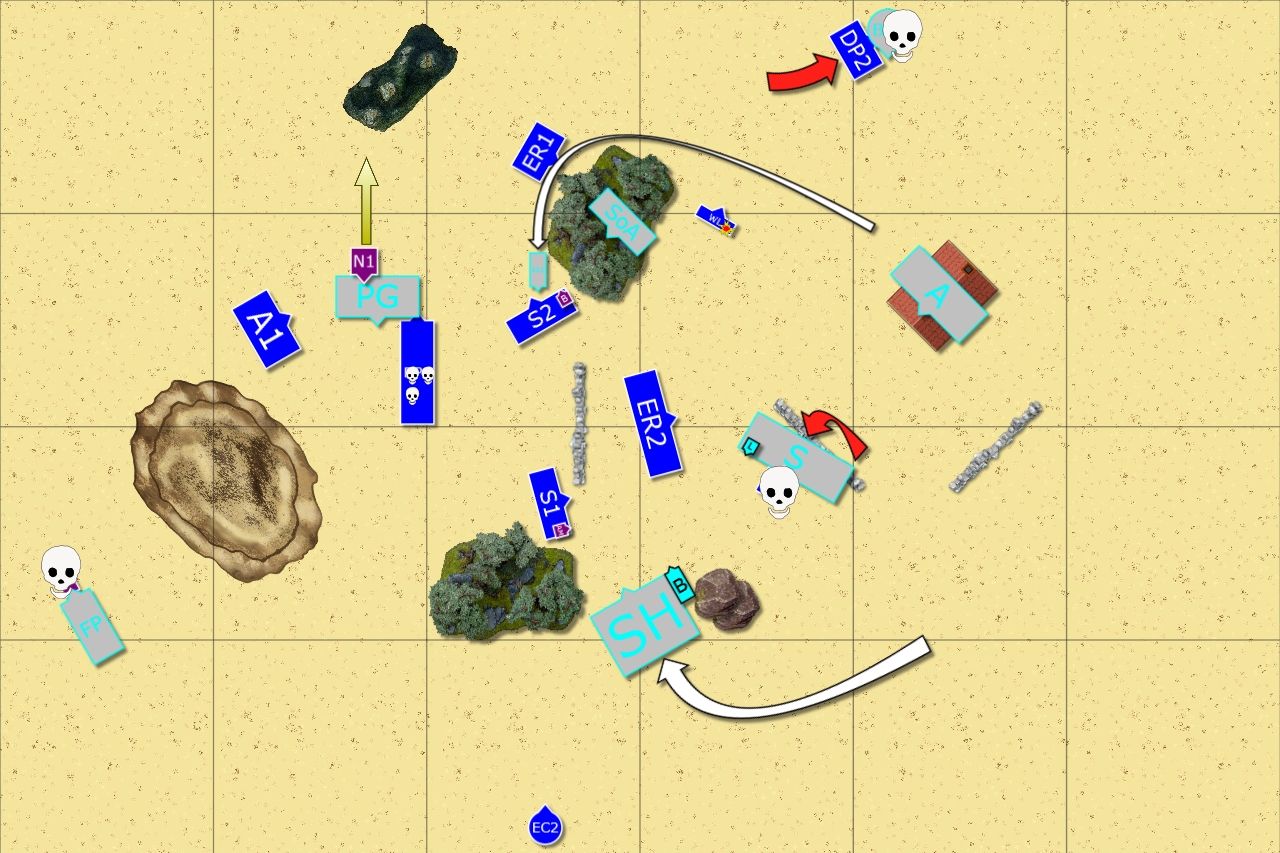
| Outcasts decided to move forward to meet the enemy |
Outcasts moved swiftly on their left flank to start encircling of the Phoenix Guard. Dragon Princes on the right, however, used their speed to avoid enemy cavalry and tempted Swordmasters with a long flank charge. It also allowed them to move closer to the enemy bolt throwers.
Outcasts' own eagle claw aimed at heavy cavalry, unhorsed some and somehow the knights lost their will to fight and fled from the battle field.
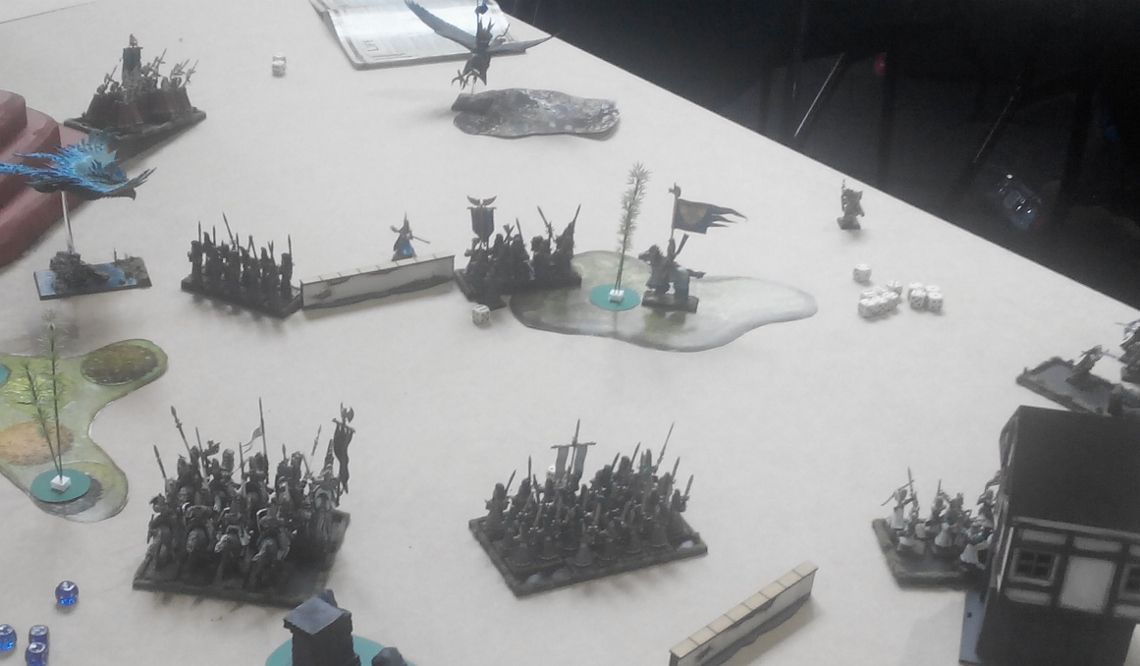
High Elves - Turn 2
 |
| Heavy cavalry leads the way! |
 |
| Armies trying to catch each other |
 |
| Punch for punch |
High Elves kept advancing on both flanks. On the left Frosthears spotted a safe landing zone and prepared to attack bolt thrower. Phoenix Guard moved forward despite taking on several enemy units at once.
On the other flank Silver Helms and Swordmasters marched to catch the enemy that tried to avoid their attention. Finally, the shooters finished the depleted enemy archer regiment.
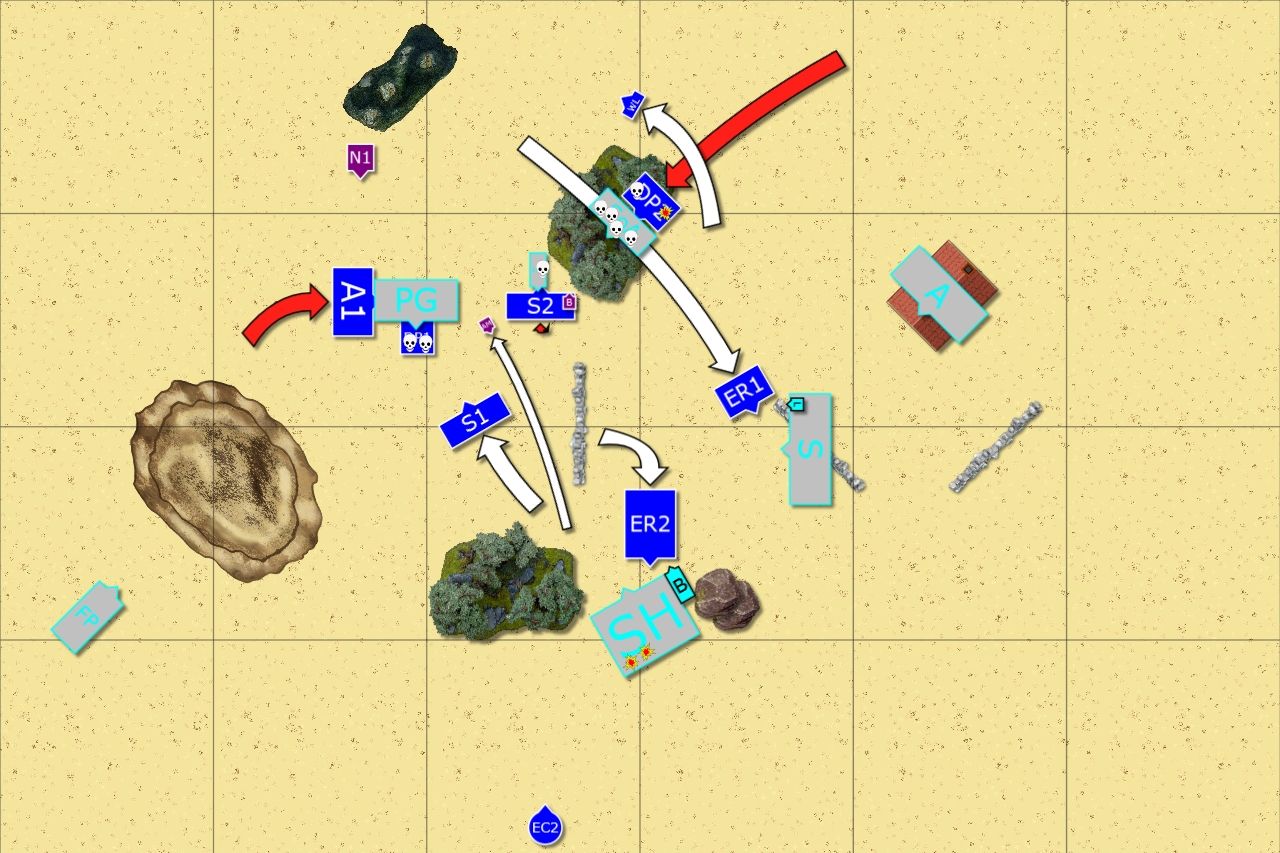
Outcasts - Turn 2
 |
| First charges! |
 |
| Attack of the light forces |
Outcasts were running against time so they had to act fast. Dragon Princes moved into the gap and were heading towards bolt throwers (Edit: Map is a little inaccurate as they didn't expose the flank to the enemy reavers in doing so, apologies for that!). They were followed by Lions whose presence was there to put some more pressure on the enemy and guard the flank of the assault group that tried to converge on Phoenix Guard.
Eagle rider and reavers charged light cavalry that blocked their path but surprisingly there were still survivors. They fled and were caught in pursuit by swift ellyrians but the impetus of the charge carried them into treacherous swamps. Only half of the unit emerged from there.
However, it seemed that Phoenix Guard is now isolated.
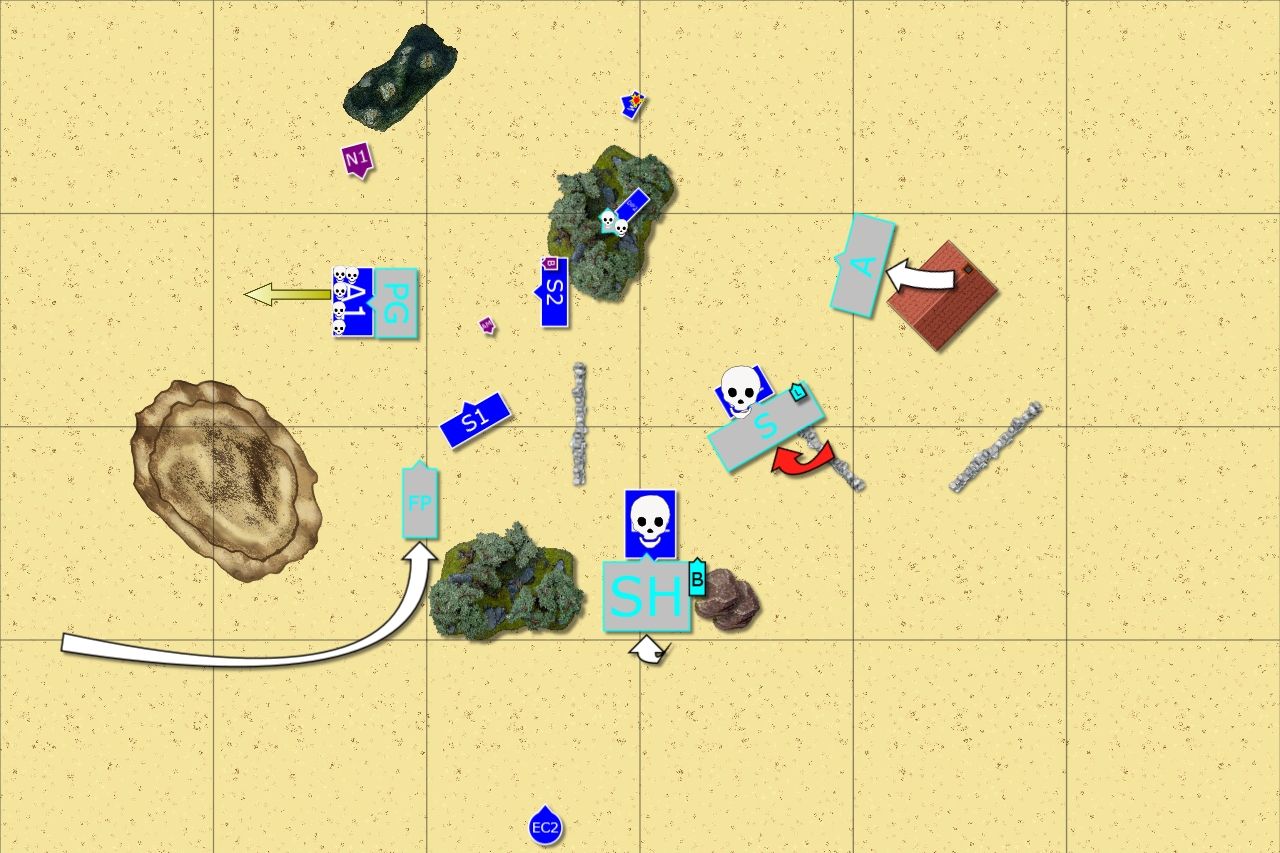
High Elves - Turn 3
 |
| Phoenix Guard didn't take the bait |
 |
| Shooting proved to be ineffective |
On the far left solitary Phoenix attacked exposed bolt thrower, destroyed the machine and turned around to accept the challenge of a valiant Elven noble.
On the other side of the battle field, battery of bolt throwers tried to destroy incoming heavy cavalry but this time they didn't succeed as only 2 knights fell and their companions were determined to avenge them.
Lions too suffered from shooting and they lost majority of their numbers but were also resolute.
Outcasts - Turn 3
 |
| Outcasts attack! |
 |
| But Phoenix Guard holds! |
There was no more time to wait so Outcasts attacked. Dragon Princes avenged their fallen companions and charged in against bolt thrower artillery, killing crew of one machine and overrunning into the second.
With their own eagle blocking the way, second unit of Dragon Princes charged Phoenix Guard on a narrower frontage and eagle rider assisted attacking from the rear. The aim of the attack was to pin down the enemy and let the infantry surround the flanks. As expected, Phoenix Guard lost combat this time but held on steadfast.
Ellyrian Reavers were too preoccupied with removing the dirt from their armor and missed the opportunity to charge exposed flank of Sisters of Avelorn.
The rest of the army engaged in delaying tactics for the other two main enemy units. The shooting was focused on fast cavalry but unfortunately, a single rider survived.
Lone hero charges against Frostheart but his attacks are deflected and while his armor saves him the combat ends in a stalemate.
High Elves - Turn 4
 |
| Eagle rider or chicken rider? |
 |
| Phoenix Guard fights back |
Single enemy rider is what is needed to block the flank charge of Swordmasters. What is more, Phoenix Guard kills no less than 3 knights and that frightens eagle rider who abandons his companions. Things are getting worse and worse for the Outcasts when second noble dies in combat with frostheart phoenix.
End the enemy closes in!
Outcasts - Turn 4
 |
| Outcasts do not give up! |
 |
| But neither does Phoenix Guard! |
Although the attack was not yet well prepared, Archers decided to take the risk and attack the flank of Phoenix Guard. Dragon Princes fought hard but they were already surrounded by the enemy and were killed to the last knight. Despite that, Phoenix Guard still lost the combat and were not steadfast anymore but held fast regardless. They also reformed skillfully and Archers were in a big trouble.
Dragon Princes who were so successful in silencing enemy artillery charged through the forest but treacherous beanches claimed one of them. Another fell to a lucky sword strike from the Sister but before that many of them fell to the attacks of heavy cavalry. But they too held fast even if the casualties were high and only a few of them stayed to hold the line.
The situation looked very dangerous to the outcasts and their fast cavalry moved in to save slower infantry and vulnerable leaders.
High Elves - Turn 5
 |
| Phoenix Guard breaks through |
 |
| All the sacrifice for nothing! |
Noble sacrifice of fast cavalry helped avoiding a disaster but valiant archers didn't manage to hold against Phoenix Guard. They broke and were run down and Phoenix Guard were fleet of foot too, moving out of the encirclement.
The only good thing was that lone dragon prince broke through the survivors of Sisters of Avelorn and White Lions survived the shooting.
Outcasts - Turn 5
 |
| Last attempt |
 |
| S1 tried to charge PG but they fled to safety (sorry for wrong arrow colors) |
In the last attempt to turn tip the scales to their favor, the Outcasts charge one more time. Eagle rider, trying to redeem himself, charges the Phoenix but is not able to break it. Also Swordmasters charge against Phoenix Guards who do not risk the combat in not so favorable conditions and withdraw to safety.
The only consolation is that the Loremasters manages to claim life of the enemy BSB with his deadly spell.
After that both armies disengage.
Summary
 |
| Turn-after-turn animation summary |
After-battle thoughts
First of all I would like to thank Hamish for a great game. He was an example to follow as he was always stoic, very friendly and we resolved a few minor situations in a quick and amicable way (i.e. such as what is really seen through terrain etc.). When we calculated the points Hamish was winning 12:8 but due to composition difference it was 12:8 into my favor. I still consider that a victory for my opponent as we started the game when he was losing 16:4.
So what did go wrong? well, I think we can agree that the main situation of the game was the combat against Phoenix Guard. I had them nicely isolated but I executed the attack in a way that saw me losing units rather than destroying the enemy. Despite the fact I won two combats I could not really expect the enemy to run when they took the tests on Ld9 and Ld7 respectively.
During the game I considered the following option:
Charge with noble and dragon princes as I did but also with archers from the front. That was risky because a few attacks from the PG against the archers could have added nicely to its combat result but the possible reward was that I could have enough ranks to break steadfast. The problem is that if the noble fled as he did, Phoenix Guard would have reformed into broad formation and the situation would have been bad too.
The alternative I spotted while writing the report is that I could charge with DP but move to the other corner of PG (passing by the eagle (it looks possible to do so from the picture) and add Swordmasters with BSB from the other corner. In that way I would add more attacks despite being hit first with re-rolls.
Next turn it was quite desperate already. On one hand I think it was worthy a shot to flank charge the enemy as they lost combat but at the same time it allowed them to break through. I wonder then if I should have restrained and simply waited how PG is going to reform. They were surrounded from 4 directions so maybe it would have been possible to be in a position to fell with whoever they wanted to charge after the reform and then charge with 3 other units. It would have been risky though as possible flee paths led toward two enemy units that were blocked by the reavers.
I am sure there are many more things I could have done better and I plan to come back to this game with more ideas but I need to look at if from the point of view of deployment and possibilities the terrain gave me that I might have missed too.
Last but not least, magic seemed not to have a great impact (apart from nice Spirit Leech against BSB) since both loremasters countered each other nicely. But I can assure you that many spells were attempted and as always I should roll better for winds of magic!
Thanks for reading!
No comments:
Post a Comment