

Hello!
In the second round of the tournament during WinterCon 2019 I played against Phil. Last time we played against each other (a few months ago during Ascending Valhalla event) he played with Alexandrian Macedonian. This time, however, Phil decided to bring Early Imperial Romans with some Armenian allies. Excellent!
For some reason I consider Romans as the primary enemy for my Seleucids. I thus find it always exciting to play against any flavor of the Roman force. Even in the frame of this faction, there are a lot of options and variations so there is a guarantee there will be no two armies alike. Phil's force was definitely a good example, especially with allied contingent of Armenian cavalry.
Here are the details:
Early Imperial Romans - Army List

There were a few intriguing elements in that army. For example, it consisted of a large proportion of superior and exceptional TuGs. But what surprised me the most was the Mediocre Army Commander! As Phil explained, the commander of his army is a politician, not a professional general, hence the mediocre level. He would be floating, however, so he could still have some influence on the flow of the game!
In such circumstances I would have preferred to avoid Praetorians, send Phalanx against average Legionaries and Auxilia and outmanoeuvre Armenians. If that worked I would be able to get close to breaking point of Phil's army. However, I was under no illusion it would be easy or without casualties in the process.
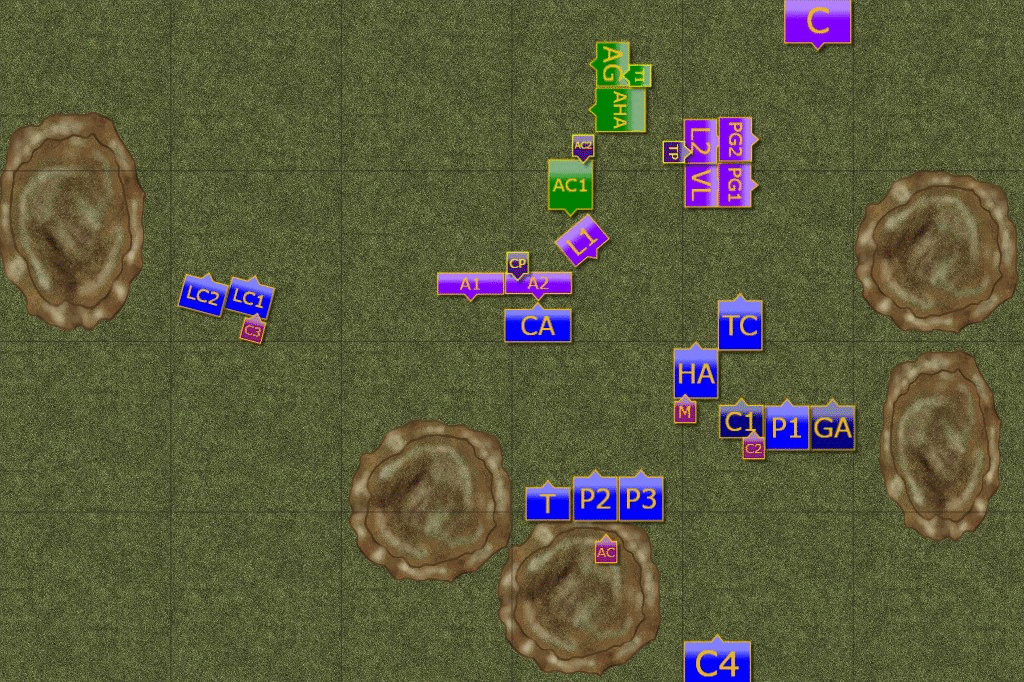
Here is my army list for the reference:

Pre-Battle
Once again I ended up being an invading player and I tried to save good cards for the scouting phases of the battle. In this way I should be able to see where the significant proportion of the Roman army would be deployed.
We also got quite a few pieces of rocky ground or even mountains on the secure flank. That narrowed the battle field but still had some large plains for the cavalry to try and exploit.
Deployment
 |
| Early Seleucids vs Early Imperial Romans |
 |
| Deployment of the Armies |
The Romans deployed quite close to the centre and left big area on my left flank open. I decided to try to use it for outflanking manoeuvre with my faster Charging Lancers. If I could pin down the Roman infantry with the Phalanx and execute outflanking fast enough, I should be in good position gain some advantage.
Seleucids - Turn 1
 |
| Turn 1 - Sequence of Actions |
 |
| Cretan Archers vs Auxilia |
Both armies begun manoeuvring. Seleucids sent the troops on both flanks but for some reason the middle phalanx formation did not shift from its position. In response, the Romans moved the Preatorians towards the right flank so that they could stop advancing Silver Shields.
 |
| Slow advance at the beginning. |
Romans - Turn 2
 |
| Turn 2 - Sequence of Actions |
 |
| Seleucid's light horse harass the enemy |
The advance of both armies' main battle lines was vary careful. However, the activity of the Seleucid charging lancers on the left flank prompted reaction from the allied Armenian contingent. While the Praetorians on the right did not really care about the presence of a few groups of the mounted skirmishers.
 |
| Careful advance on both sides. |
Seleucids - Turn 3
 |
| Turn 3 - Sequence of Actions |
 |
| Getting closer. |
Seleucid Charging Lancers decided to attack the exposed flank of Roman Auxilia but as the attack was not supported and performed by only a single group of Seleucid cavalry, the Romans managed to hold their ground. Seleucids decided to disengage, especially when Armenian Cataphracts appeared dangerously close nearby.
The Phalanx in the centre closed the distance to some Roman infantry but it seems the Seleucids did not coordinate the attack well.
 |
| Both infantry lines remain cautious. |
Romans - Turn 4
 |
| Turn 4 - Sequence of Actions |
 |
| Phalanx vs Legion |
Charging Lancers charged against Auxilia once again, hoping that even with the frontal charge they would be able to shift the balance into their favour. But it quickly backfired as Roman infantry broke Seleucida cavalry. Armenians too chased away their opponents and it seemed that Seleucids lost the left flank.
In the meantime, grind match between Legion and Phalanx has just begun in the very centre of the battle field.
 |
| Armies finally engage |
Seleucids - Turn 5
 |
| Turn 5 - Sequence of Actions |
 |
| Meanwhile on the right flank. |
Seleucid charging lancers on the left flank changed the tactics and executed evasive manoeuvres in order to tie their enemies for a bit longer. Otherwise the infantry in the centre would be in grave danger.
The phalanx on the right, led by Silver Shields, approached the Praetorians and it looked like the opening was being created there. Big enough for the Companions to sneak around and threaten the flank or rear of the Legionaries. However, the Praetorians anticipated that move and extended their formation.
 |
| The battle hangs in the temporary balance. |
Romans - Turn 6
 |
| Turn 6 - Sequence of Actions |
 |
| Armenian Cataphracts advancing towards exposed flank of the Seleucid Phalangites. |
Once the Seleucid cavalry on the left was defeated, Armenian cataphracts turned around and started advancing towards exposed flank of the phalangites. Fortunately for the Seleucids, one group finally broke through the defences of the Legionaries. In pursuing their enemies they also managed to reach relative safety and avoid deadly Armenian horsemen.
 |
| The battle is still undecided. |
Seleucids - Turn 7
 |
| Turn 7 - Sequence of Actions |
 |
| Armenian Cataphracts arrive too late. |
Seleucid Phalangites who managed to break through the Roman lines, continued their advance. They charged the badly damaged Auxilia and routed them as well. What is more, the pursuit surprised nearby Armenian Horse Archers and they too were destroyed by Seleucid Phalangites.
On the right flank the Seleucid forces decided to launch one last charge, hoping that sheer numbers would be sufficient to break Roman Praetorians but it did not happen.
In the end, both armies disengaged after long but indecisive fight.
Summary
 |
| Turn-by-turn animation summary |
After-battle
Many thanks to Phil for a great game! The rematch still did not point to the clear winner, although we played 7 turns! The good thing was that I was able to make decisions fast enough to play significantly more turns that last game.
It was a very interesting battle, at least from my point of view. We tried to manoeuvre carefully and did not commit to the melee early with the main infantry battle lines.
Although I consider the idea to perform outlfanking manoeuvre with charging lancers a good idea, I did not do well in terms of executing it. First, I was not able to bring both units against single Auxilia at the same time. If I did, I would have broken it, perhaps even on the charge.
Instead of that, I not only failed to break that unit at all but lost both charging lancers. The only consolation is that they managed to tie up the Armenian cataphracts long enough and didn't let them to attack exposed flank of the Phalangites. Otherwise, that would have been a disaster.
I am also wondering if delaying the engagement with the Praetorians was a good idea. Especially when one of the units turned around and chased Tarentine cavalry. The odds are definitely in favour of the Praetorians but perhaps tying them up would allow Companions to move around after all.
Speaking about Companions, I also wonder if sending them towards that narrow gap on the right was the best move. Looking at the development of the situation in the centre, perhaps the better option would have been to send them there and attack damaged Auxilia earlier.
All in all I enjoyed the game a lot despite the fact it was not a very bloody encounter. In the end the result was 7:6 in my favour.
That concluded day 1 of the event. Although I did not lose the game I didn't earn many points either. I hoped the day two would be an improvement in that matter!
Thanks for reading!
No comments:
Post a Comment