
CanCon 2012 - Battle 3 - Battle Line
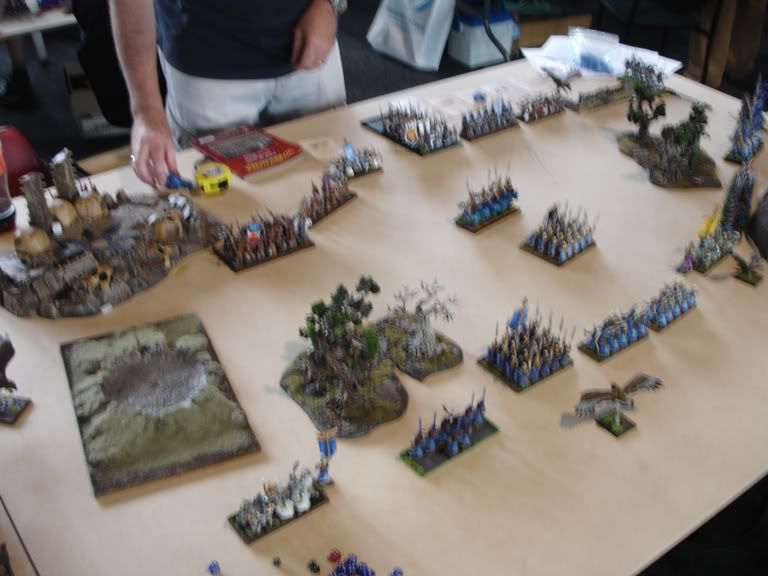
Battle number 3, the last battle of the day and who am I going to face? Another HE army! :) This time I had a great pleasure to meet a member of Ulthuan.net, Darth Sabre himself! :)
Battle number 3, the last battle of the day and who am I going to face? Another HE army! :) This time I had a great pleasure to meet a member of Ulthuan.net, Darth Sabre himself! :)
 |
| Mr. Darth Sabre for you! :P |
DarthSabre had yet another version of HE army. While Purple HE were more defensive or counter-attacking force, his was more aggressive. He wanted to get to combat as soon as possible and had the right tools for the job!
Red High Elves - Army List
Archmage, Level 4, Silver Wand, Folariath's Robe, Talisman of Saphery - Lore of Life
Mage, Level 2 - Lore of Shadow
BSB, Great Weapon, Armor of Caledor, Dawnstone
35 Spearelves, Full Command, Lion Standard
10 Archers, Musician
10 Archers, Musician
14 Swordmasters, Musician, Razor Banner
14 Swordmasters, Full Command, The Amulet of Light, Banner of Eternal Flame
5 Dragon Princes
18 Phoenix Guard, Full Command, Banner of Sorcery
2 Great Eagles
Better equipped, with strong magic and unkillable Archmage, Darth Sabre had a very good force to carry the fight towards the enemy. Life spells could ensure that his units survive more combats, while Shadow support can be always handy. However, his army was also smaller in numbers and in units (especially cavalry) so I wanted to exploit my advantages in that department.
As always, my own army list for reference:
Outcasts - Army List
Archibald the Archmage, Level 4, Annulian Crystal, Dragon Bane Gem - High Magic
Bob the BSB, Dragon Armour, Shield, Great Weapon, Radiant Gem of Hoeth - High Magic
20 Spearelves, Musician, Standard,
20 Spearelves, Musician, Standard
10 Archers, Light Armour, Musician
10 Archers, Light Armour, Musician
10 White Lions, Musician, Standard, Banner of Eternal Flame
10 White Lions, Musician
9 Swordmasters, Blademaster with Amulet of Light, Musician
8 Swordmasters, Musician
8 Swordmasters, Musician
5 Dragon Princes, Musician
5 Dragon Princes, Musician
5 Ellyrian Reavers, Musician, Bows, Spears
Great Eagle
Great Eagle
Great Eagle
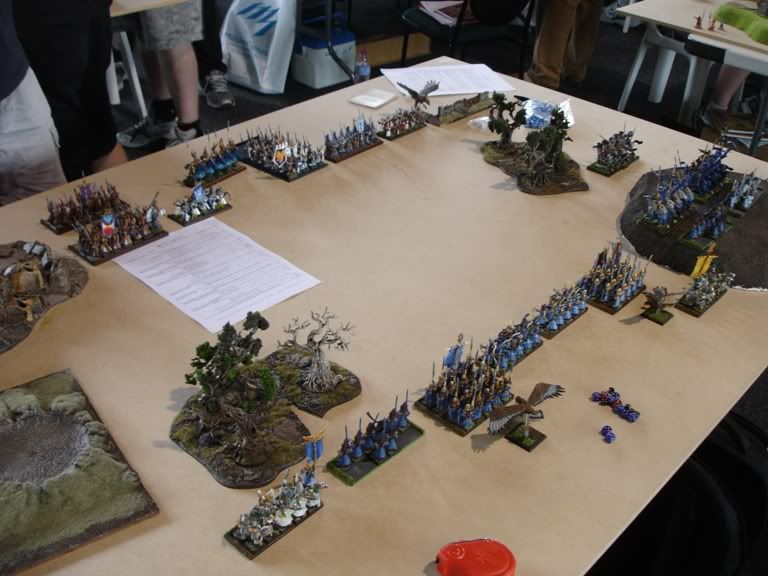
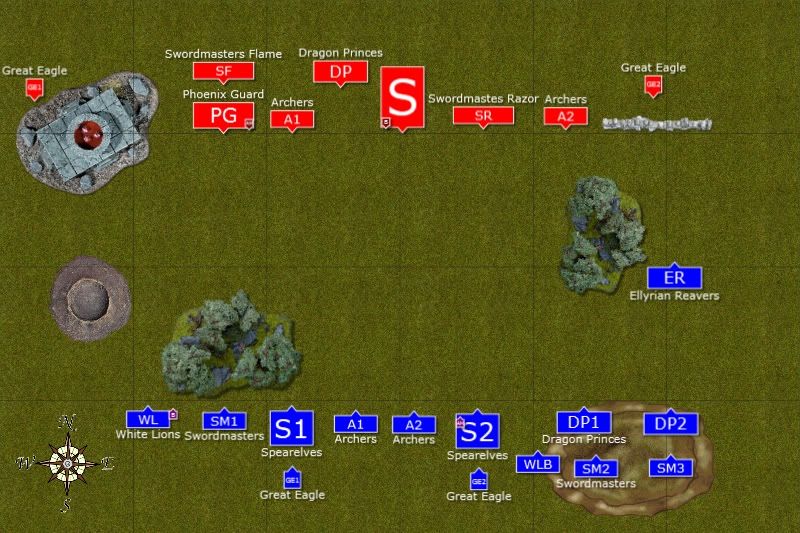
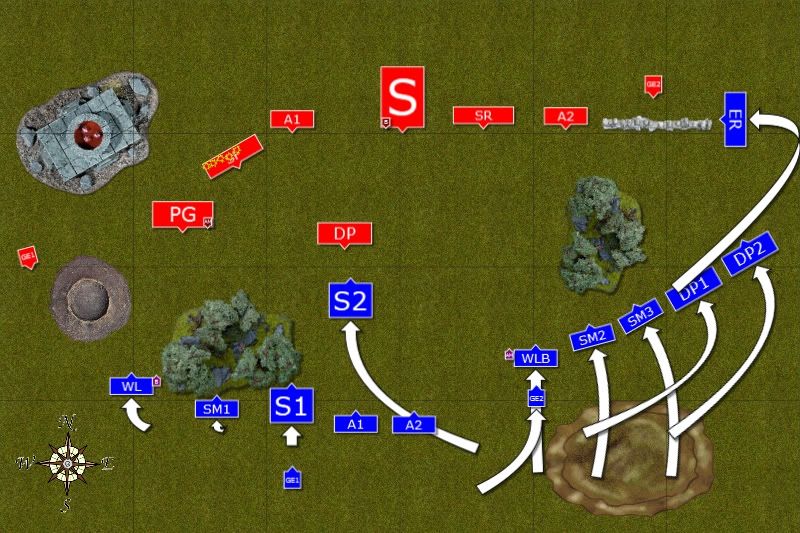
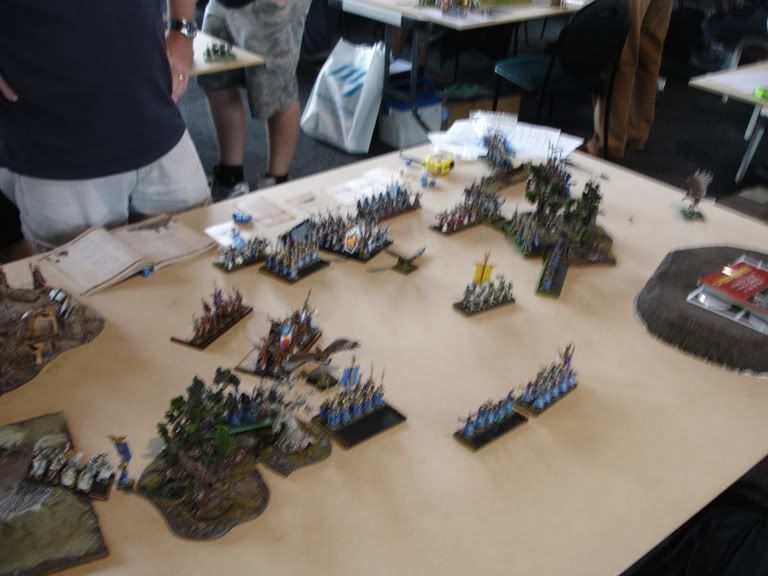
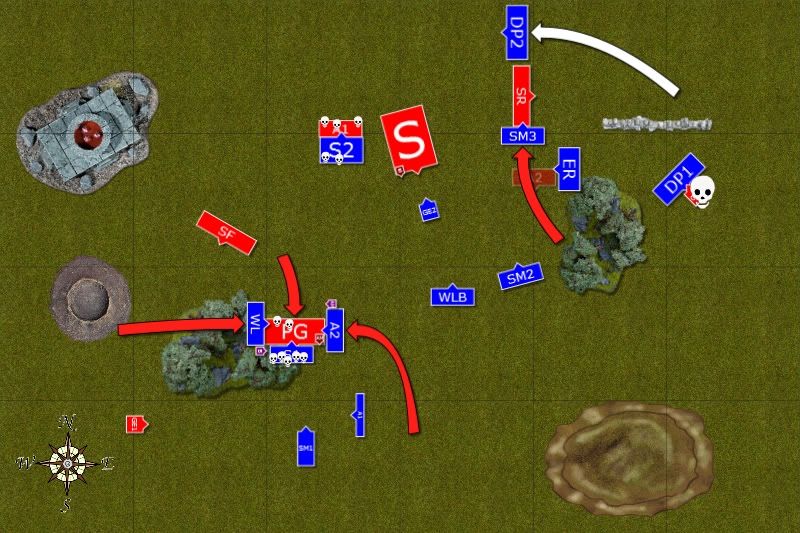
Deployment
 |
| Deployment - Western Flank |
 |
| Deployment after Vanguard move |
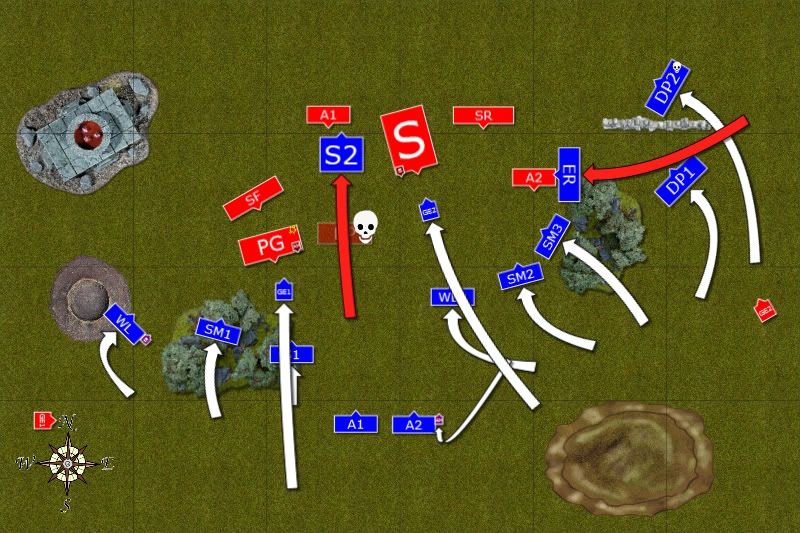
I decided to reinforce Eastern flank as there were less units of the enemy there and I could better use the space with cavalry while infantry positioned there would wheel towards the center. On the West I wanted to play defensively as I knew Darth has to come to me. If he decided to go for the center I would be able to threaten his flank. If not, he would be divided. And units in the center would go either flank depending on the situation. I also wanted my Archers to soften up Swordmasters if possible.
Red Archmage got a very nice selection of 5 spells, namely: Awaking of the Wood, Flesh to Stone, Throne of Vines, Regrowth and Dwellers. His apprentice took Shadow and following spells: Miasma and Mindrazor. Blue BSB as always had Drain Magic, Shield of Saphery combination and Blue Archmage got: Drain Magic, Shield of Saphery, Curse of Arrow Attraction, Flames of the Phoenix, Vaul's Unmaking
Red High Elves - Turn 1
 |
| Red High Elves seize the initiative |
 |
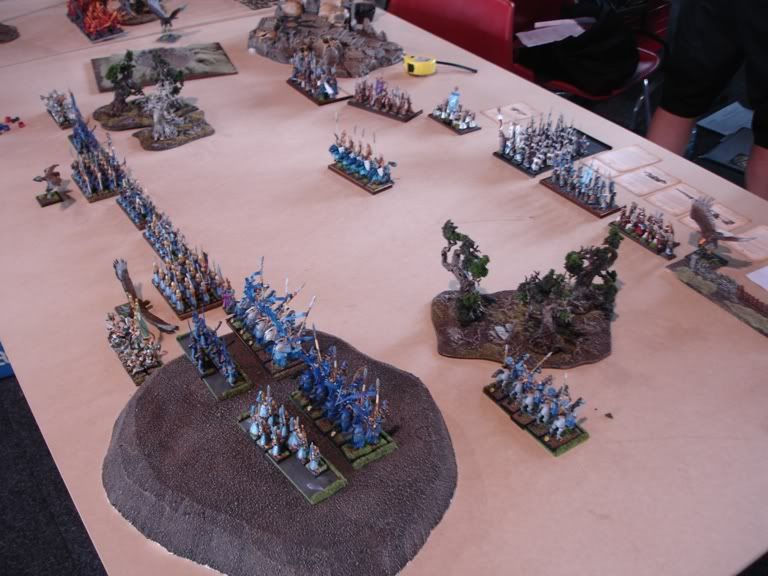
| Red High Elves move full speed on the Western flank |
Red High Elves decided to attack on one flank first and Phoenix Guard led the way. Swordmasters followed and Dragon Princes went for small fire base of the Blues. Both Archmages began their magical duel and all the attempts of the Red one were dispelled by the Blue one, while the apprentice of the Red Archmage watched his master carefully, eager to learn as much as possible from that display of wills. Red Archers opened fire but somehow didn't wound Blue Spearelves, their shots wither too weak over such long distance or saved by the armor.
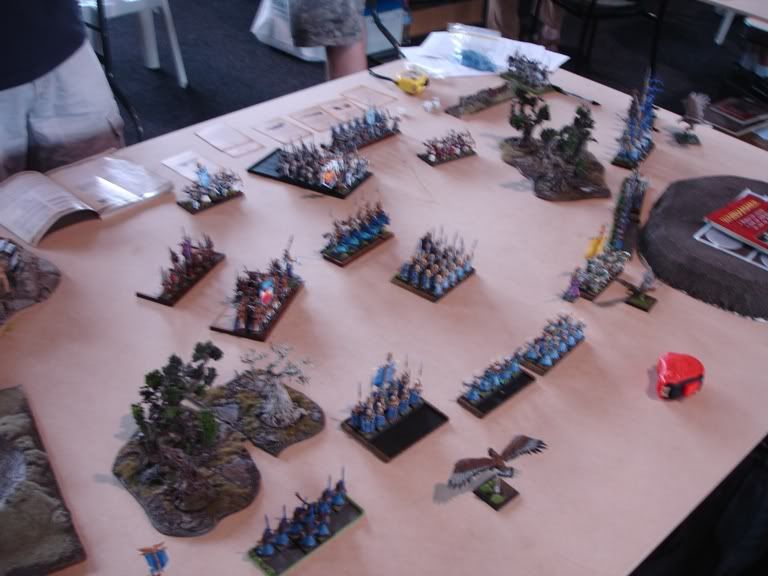
Outcasts - Turn 1
 |
| Blue High Elves in their broad formation |
 |
| Fast outflanking on the East |
The Blues had to move fast. On the East their cavalry raced across the field to outflank the regiments of the Reds left there to hold position. One Spearelf unit moved forwared to intercept Dragon Princes and prevent their charge against the archers. Units on the West moved only just to be able to outflank the Reds on this part of the battle line but didn't come too close.
Blue Archers decided to show their counterparts how it is done and let lose at the same target and no less than 5 Swordmasters fell.
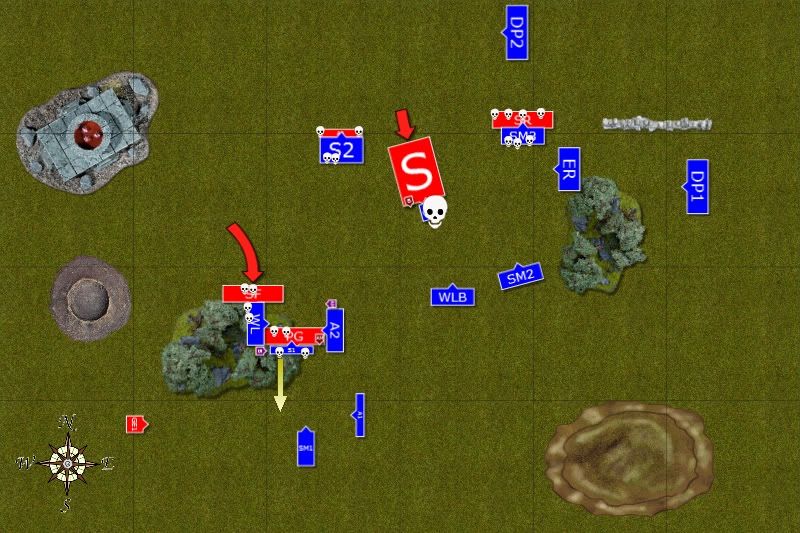
Red High Elves - Turn 2
 |
| Getting closer! |
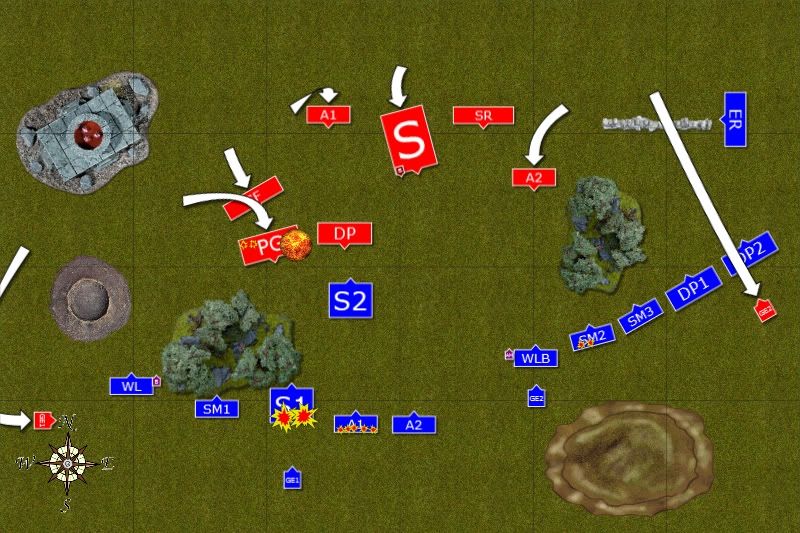 |
| Things get hot! |
The Reds continued their advance on the West but surprisingly their cavalry didn't charge the Spearelves. Instead, they waited for Phoenix Guard to close in and Swordmasters hid behind them. The units on the East readjusted their positions slightly and great eagle flew behind the cavalry of the Blues.
Red Archmage, maybe infuriated by the stalemate and constant dispelling of his spells, summoned huge amount of magic and gnarled creatures emerged from the ground to drag half of the Western Spearelves beneath the surface. This horrible fate of their companions didn't panic the survivors, however, and their readied their weapons for incoming combat. Red archers this time did a little better and a few Swordmasters on the blue side fell too. Even better did the archers on the West who managed to wound 5 blue bowmen.
Outcasts - Turn 2
 |
| The Blues - First to Fight! |
 |
| First charges of the battle |
Spearelves took the opportunity and if the enemy cavalry didn't want to fight they carried the fight to them. This attack must have surprised the knights as they broke from combat due to sheer number of pressing infantry and were run down in hot pursuit which carried blue Spearelves towards regiment of red archers.
On the East Ellyrian reavers charged swiftly through the woods into the flank of the second archer regiment. Light horse lost one of their number in that risky attack and red archers were determined enough to hold their position.
The rest of the infantry of the Blues in the center-East formed a death-zone for any incoming regiment of the Reds. Just to be safe that they are not caught by surprise, great eagles were ordered to act as distractions to enemy troops. White Lions and Swordmasters on the West also moved forward a little bit and then wheeled towards the center to be able to support their companions.
Red High Elves - Turn 3
 |
| The Reds counter charge |
 |
| The Reds are slowed down |
The Reds decided it is time to attack and break through on the West. Phoenix Guard charges the eagle and overruns into depleted unit of blue Spearelves. Nearby Swordmasters charge their counterparts in the woods but the blue warriors retreat. Spotting them as they emerge from the woods on the other side, great eagle tries to catch them but they avoid that attack as well.
Red archers did what Dragon Princes didn't and charge the Speareleves. No side got significant advantage and the combat was a stalemate. Another unit of red archers kept fighting while Spears remained in their position and Swordmasters reformed to face the cavalry. Even the great eagle charged enemy knight from the rear but proud cavalrymen held and reformed to face the hug bird of prey. Yet again red Archmage had to swallow his frustration as his Blue adversary kept dispelling his every attempt to cast any spell.
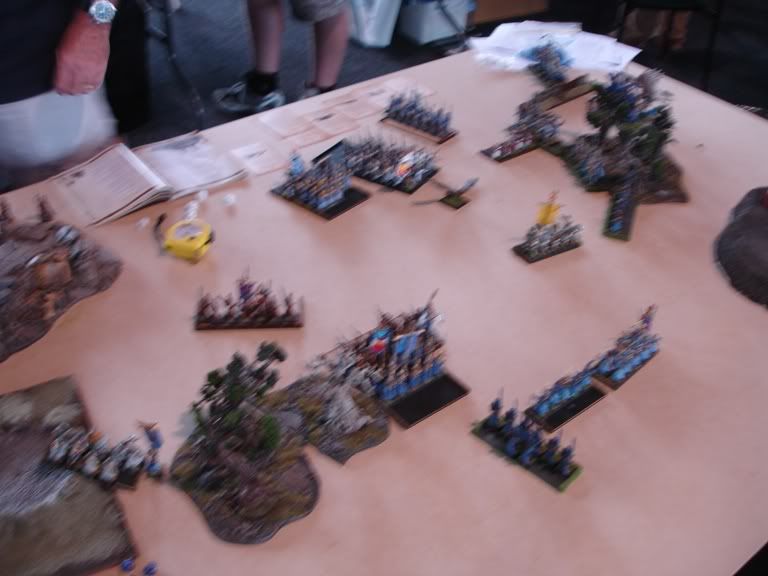
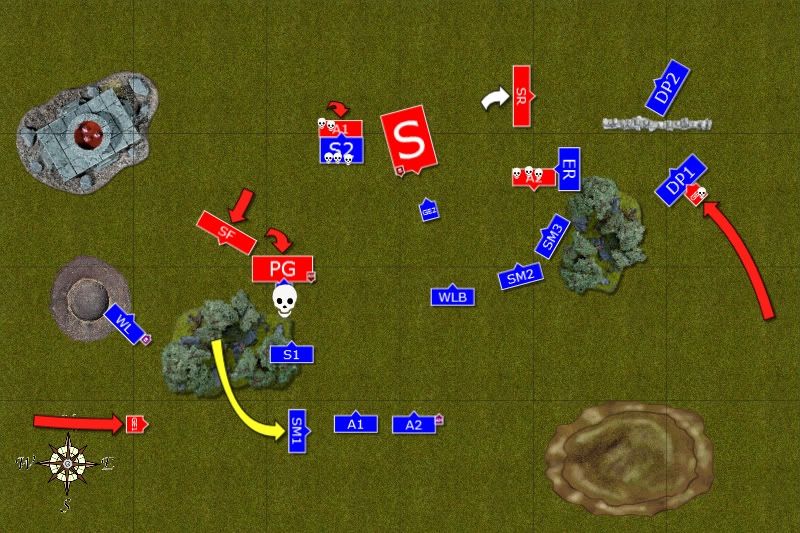
Outcasts - Turn 3
 |
| Phoenix Guard attacked from all sides |
 |
| More charges by Outcasts |
While Spearelves braced for impact White Lions and Archers charged the Phoenix Guard from both flanks. The combat was bloody but although Phoenix Guard marginally won this one, all blue units held inspired by the presence of their Battle Standard Bearer. The combat could be more favorable if blue Archers spotted in time that their Archmage used the confusion of the fight to destroy the magic that was woven into the fabric of the Red wizard robe and he ceased to be ethereal. Blue Swordmasters nearby reformed into narrow formation to be able to support their companions.
On the East another Swordmaster unit charged stubborn Archers and this time they broke, while the momentum of the charge carried blue warriors into the flank of red swordmasters. In other areas of the battlefield Dragon Princes defeated the eagle while the combat between the red archers and blue spearelves continued.
Red High Elves - Turn 4
 |
| Final push of the Reds |
Red Swordmasters attacked to help Phoenix Guard who started to lose some warriors too. However, the path to the enemy was narrow and only a few could fight. More casualties were counted on both sides, red archmage avoided the damage and the Blues again lost combat. This time Spearelves, which held against the main push of the Phoenix Guard, withdrew in good order while White Lions and Archers kept the Reds busy.
Another red Swordmasters survived the flank attack in very good shape and reformed to face their adversaries. Brave red Archers were reduced to a single warrior but he kept fighting anyway.
Outcasts - Turn 4
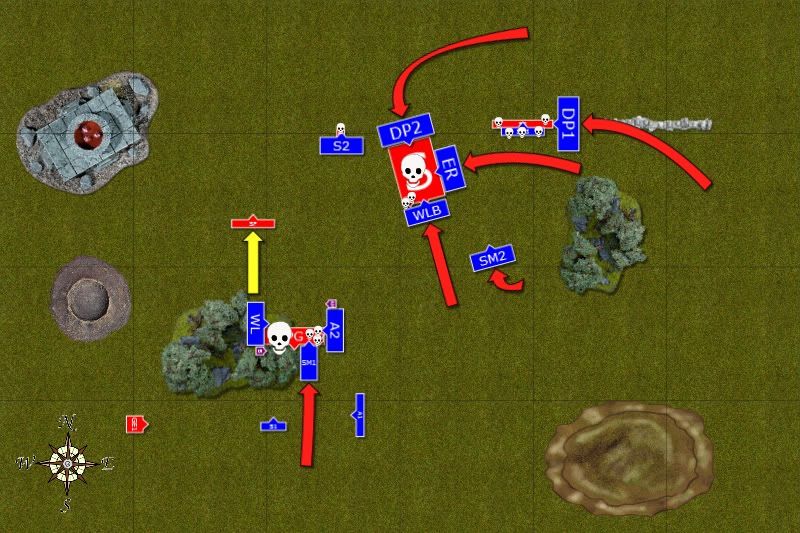 |
| Decisive strike of the Blues |
As Spearelves withdrew, Swordmasters charged in. Phoenix Guard have lost many warriors and when their Archmage finally fell, they broke and fled to be destroyed in pursuit. Red Swordmasters also fled but escaped pursuers.
In the center red archer joined his fallen companions but held the enemy long enough. The Blues had to attack with other regiments. They stroke with Cavalry from the rear, light horse from the flank and White Lions from the front. In the ferocious attack red BSB quickly found out that his magical armor stopped working and could not deflect all powerful blows of enemy white lions. Many Speareleves fell too and the survivors could not maintain the formation, broke and were destroyed by swift light horse.
Last red regiment fought their counterparts. It was more like a set of duels and many fell on both sides but survivors of the blue Swordmaster regiment held. (EDIT: I am not sure if DP really charged into that combat or not but I do remember I killed level 2 in that fight. I trust Darth Sabre will correct me if I made a mistake here).
With that last act of the battle it was clear that this time the Blues managed to succeed in the War Games.
After-battle thoughts
Another difficult game without usual advantages :) Darth Saber had a very good army and he was very unlucky with his magic as only single spell worked for him in the entire game and only when cast with IF. He still put up a good fight and only by the combination of good rolls for spells effects (Shield on Lions against PG and Vauls Unmaking twice) I won the game by such a large margin. The loss of DP and the failed break test of spears who were still steadfast definitely added to his frustration. :(
Having said that I think that the fact he divided his army helped me to win. It is always a difficult decision and I think he would do better with one solid formation and refused flank. I would deploy them closer to each other and refuse Eastern flank. On the West there was less space and cavalry had a lot of difficult terrain there. I would also use the eagles closer to other units and employ them in their infamous diversion tactics.
Although I won by a large margin (18-2 to my surprise) I still think there were a few things I could have done better. I think I should have deployed on DP on the West, since they would be a very good threat to Swordmasters with flaming banner. Also, instead of ordinary Swordmasters I should have deployed the ones with magical attacks just in case I could not switch off the Robes of the enemy Archmage.
I am of course very happy with an outcome but I really wish it was against some other army. The good thing is we could talk with each other more and it is always a pleasure to meet another forum member in person.
Darth, I do hope you still enjoyed the game. It was a great pleasure to meet you! :)
Cheers!
No comments:
Post a Comment